
From panels that are already flat
Sometimes the patterns exist before the wireframe does. You patterned the job by hand and traced or digitised the panels, or they come from other software as a DXF. Such panels are finished outlines: flat, with no seam allowance, and nothing that says which edge is sewn to which. Import Drawn Panels takes them into Fabricator, so that you can add the seams, notches, reinforcements, details and the nest afterwards.
There is no 3D wireframe and no solve in this way of working. The outlines are the panels. What Fabricator needs from you is the connections: which edges are sewn together.
1. Bring the outlines in
Section titled “1. Bring the outlines in”-
Get the outlines into Rhino and tidy them: each panel a flat outline, all of them in one plane, laid out apart from each other. Small gaps at the ends, up to 5 mm, are closed for you.
-
Select the outlines and click Import Drawn Panels in the Fabricator panel, under Import in the 3D Frame section. With nothing selected, Rhino asks you to select the drawn outlines; press Enter to accept.
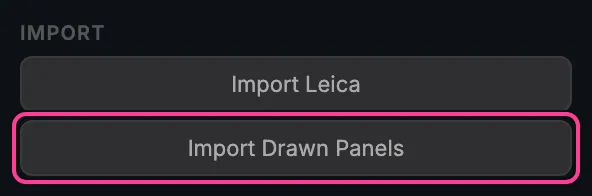
Import Drawn Panels in the Fabricator panel. -
Fabricator closes each outline, breaks it into edges at its corners, puts the edges on Fixed edge and makes the selection one card. It is one undo step. Rhino’s command line says what was done, such as
Prepared 3 drawn panel(s) as one card, 12 edge(s) on Fixed edge., and adds what was closed or removed on the way.
An outline that does not close, is not flat, or is not in the same plane as the others is left as it was, and a message says why; the others still come in. Short notch marks drawn in an outline are left out and removed, and detail marks are trimmed to the panels.
2. Set the connections
Section titled “2. Set the connections”Map Drawn Panels opens over the Atlas straight away. It shows the pieces as you drew them, and Fabricator’s first guess at the connections: edges that face each other and agree in length within 2 % are connected automatically. A connection is called a join, and its ends are pins.
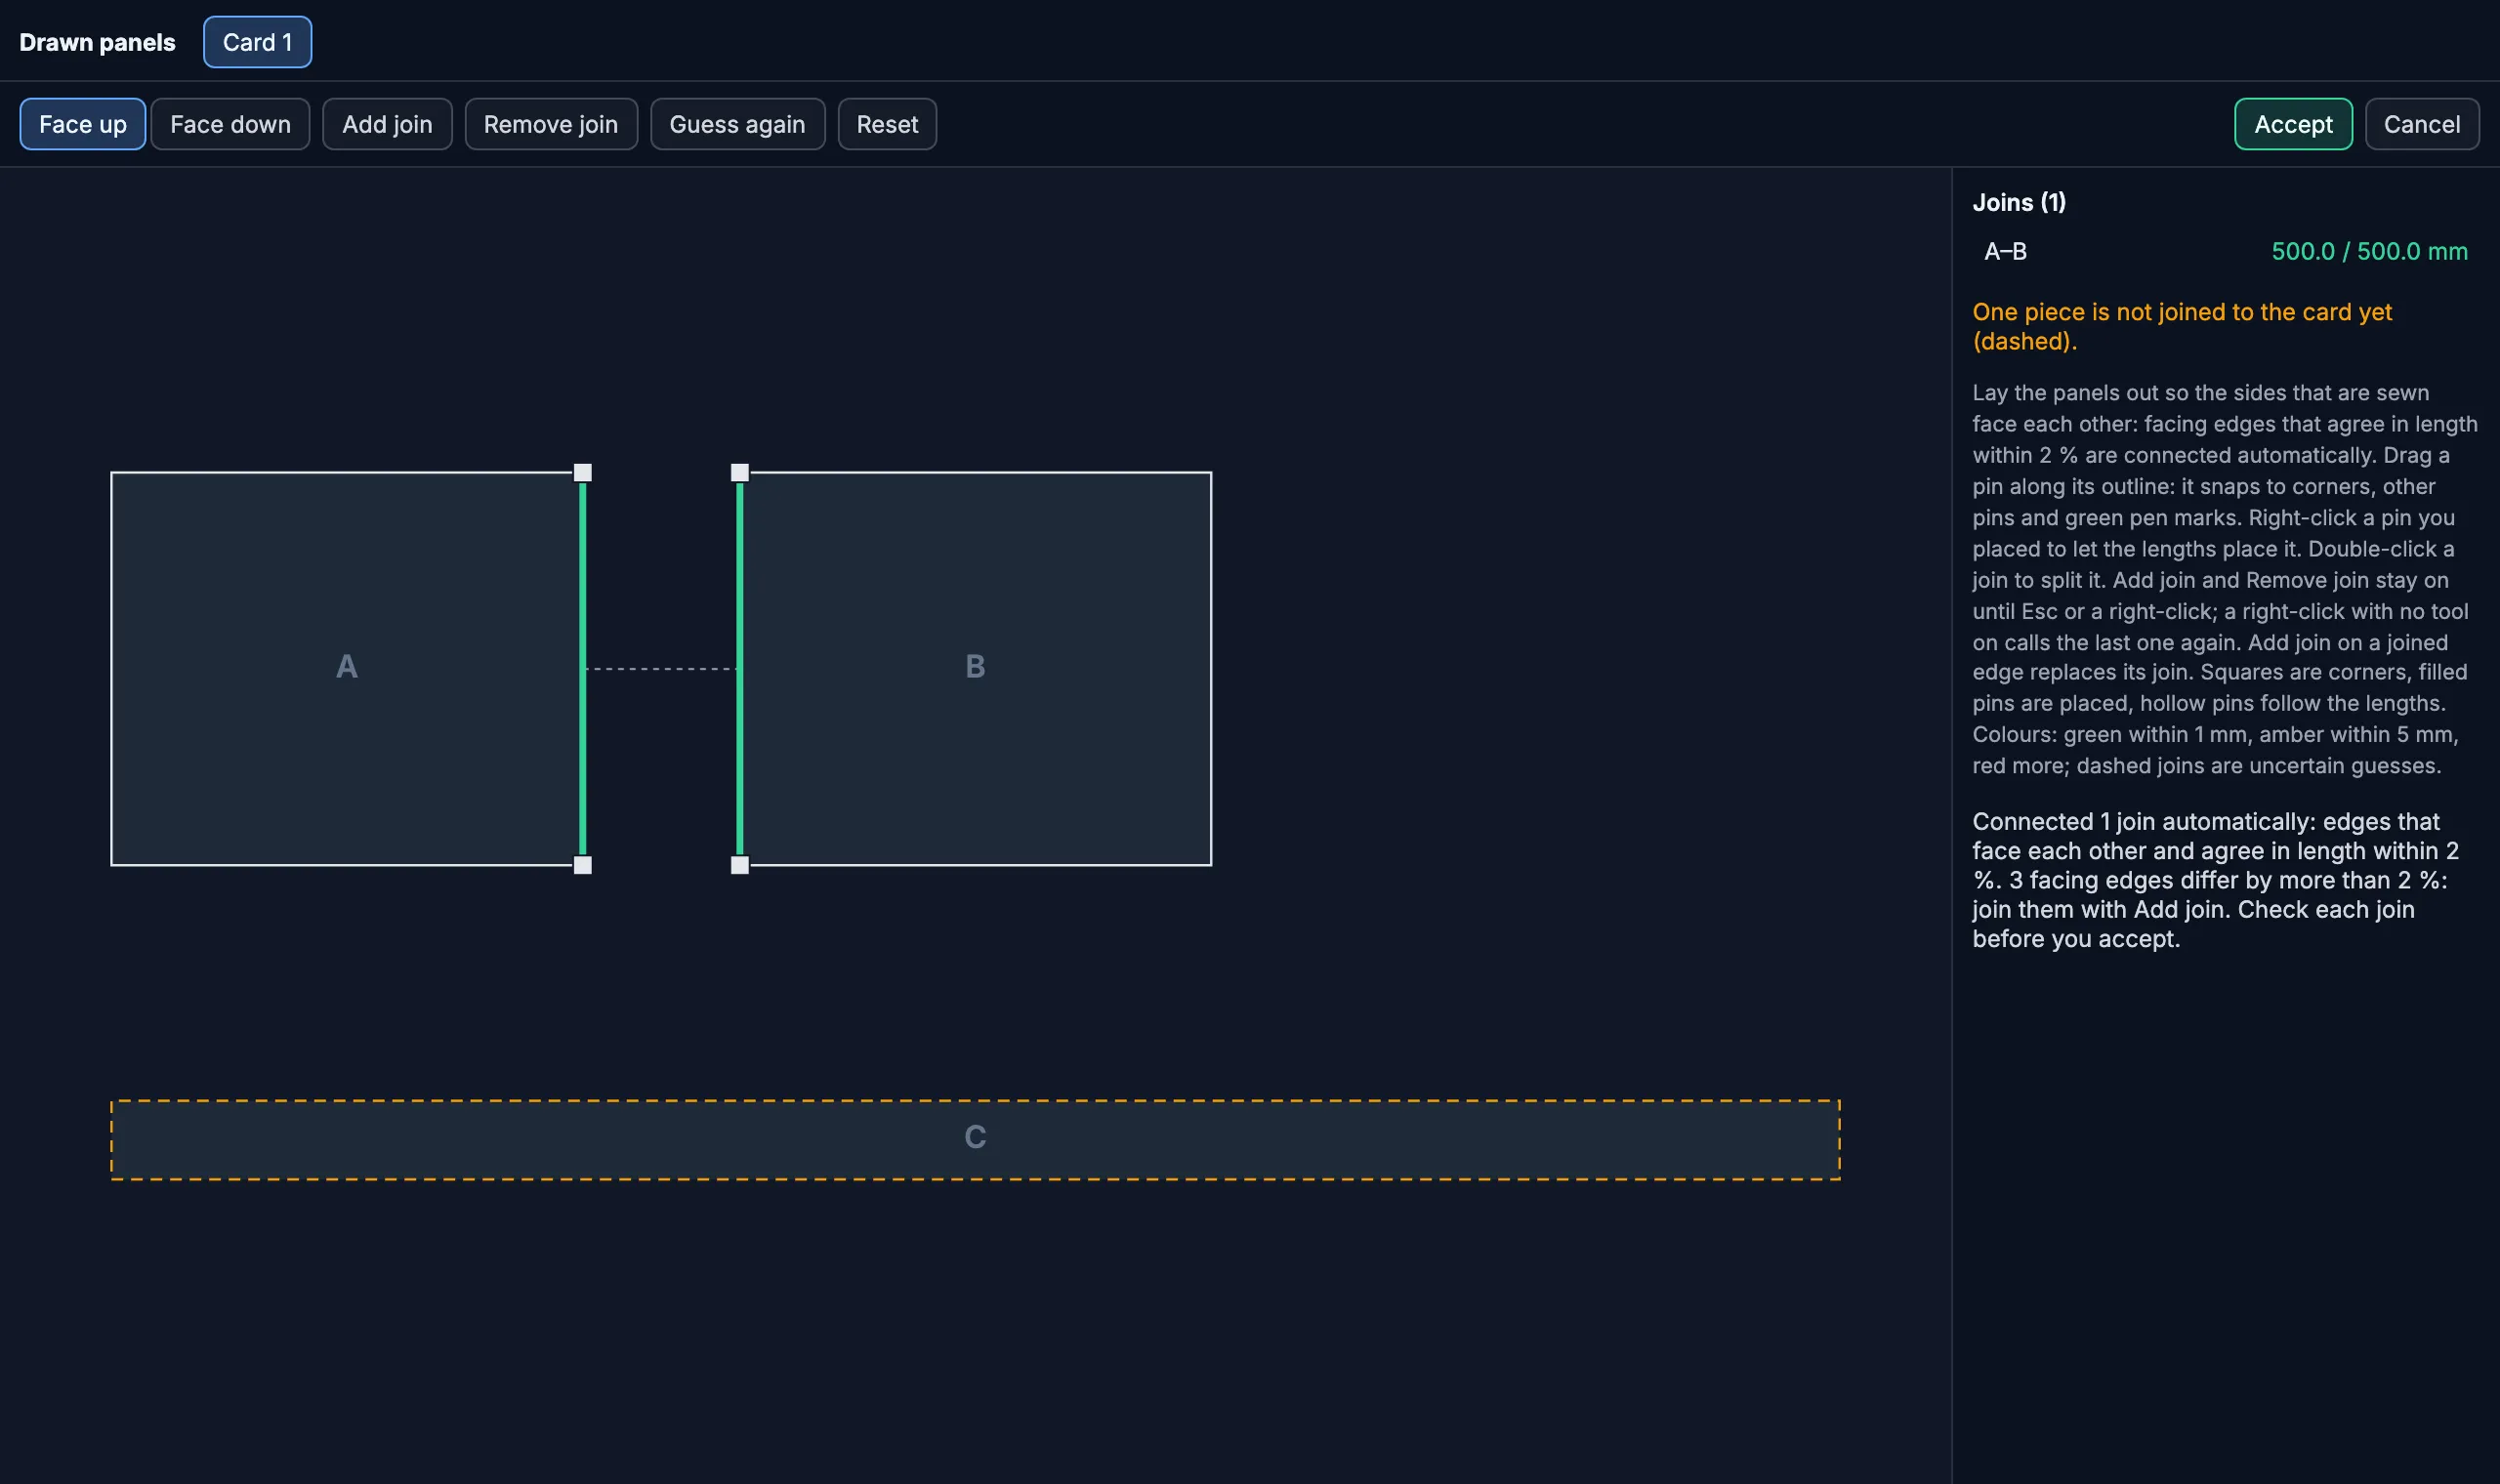
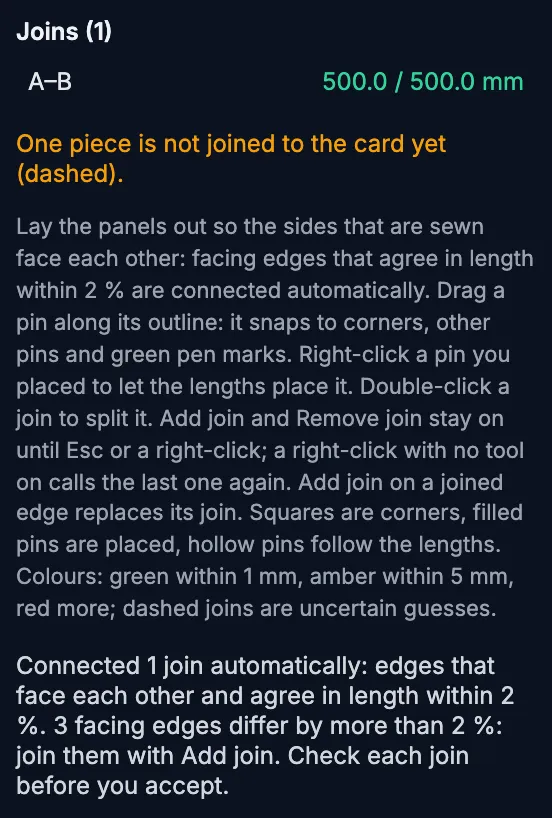
The side panel lists the joins with the lengths of their two edges, and says what the automatic connection found.
| On screen | What it does |
|---|---|
| Card 1, Card 2 … | One tab per drawn card in the drawing. |
| Face up / Face down | Which way up the pieces were drawn. It is one setting for the whole card; no piece is ever flipped to make a guess fit. |
| Add join | Click one edge, then the edge it is sewn to. Where one long edge is sewn to several shorter ones, add a join for each: every join takes only the stretch that is still free. Add join on an edge that is already joined replaces its join. |
| Remove join | Click the joins to take away. A selected join goes at once, also with Delete. |
| Guess again | Makes a fresh first guess. |
| Reset | Removes every join and pin, to build the map by hand. |
| Accept | Stores the map with the drawing. Grey while the map has a problem. |
| Cancel | Closes the map without storing your changes. |
Add join and Remove join stay on until Esc or a right-click. A right-click with no tool on calls the last one again.
Pins and joins
Section titled “Pins and joins”- Drag a pin along its outline to move the end of a join. It snaps to corners, to other pins and to green pen marks.
- Filled pins are placed; hollow pins follow the lengths. Right-click a pin you placed to let the lengths place it again.
- Squares are corners.
- Double-click a join to split it in two.
- Colours: a join is green when its two edges match in length within 1 mm, amber within 5 mm and red beyond. A dashed join is an uncertain guess. A piece that is not joined to the card yet is dashed, and the side panel counts such pieces.
When the map is right, click Accept. The side panel says what is wrong while it is grey.
3. What Accept makes
Section titled “3. What Accept makes”- Seams. Every stretch of edge that a join sews takes the default Seam. The edges that are sewn to nothing stay Fixed edge, which is a hem by default.
- Notches. Each join gets matching notches on its two sides, placed so that they meet when the pieces are sewn, with a small length difference spread evenly along the join.
- A normal card. From here it works like any other: set the material, give the edges their seam types, split and join panels, add reinforcements, details and windows, output and nest. Start at 3. Set the material.
The map is stored with the drawing. Open it again at any time with Map Drawn Panels in the Output column of the Atlas, for example after adding more panels to the card: select the new outlines together with a curve of the card and click Import Drawn Panels again. With no drawn card in the drawing, Map Drawn Panels opens nothing.