
Your first cushion
The quickest way to learn Fabricator is to make a box cushion, 600 × 500 × 100 mm, start to finish. It takes about five minutes and needs no 3D solve. The pictures in this manual show the same cushion.
You need the plugin installed and the Fabricator panel open (Install and log in).
-
In Rhino, draw the outline of the cushion as one closed polyline: a rectangle, 600 × 500 mm. Select it and click Seam in the Fabricator panel. The outline goes on the Seam layer, and Seam becomes the current layer.
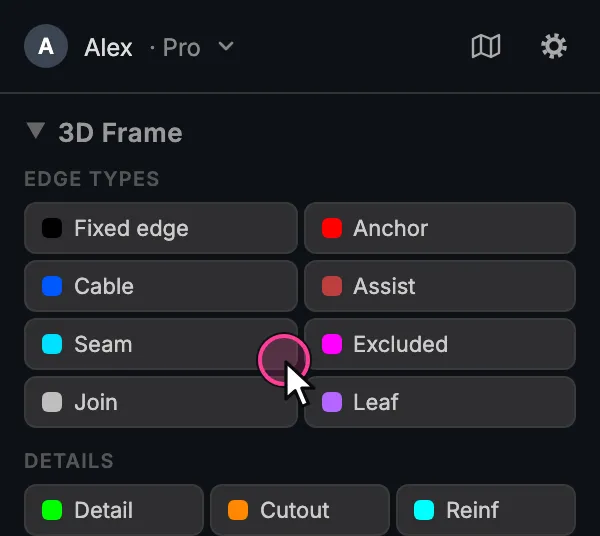
Click Seam with the outline selected. -
Hold Shift and drag the outline 100 mm straight up, for example with the gumball. Fabricator extrudes it: the outline moves up, a copy stays where it was, and the four side edges are drawn for you. That is the whole wireframe.
The outline, and the box after a Shift+drag. The third frame shows how a sloped side is made. -
Click the FAB2D chip that floats over Rhino, or the map button at the top of the panel. The Atlas opens with the six panels of the cushion.
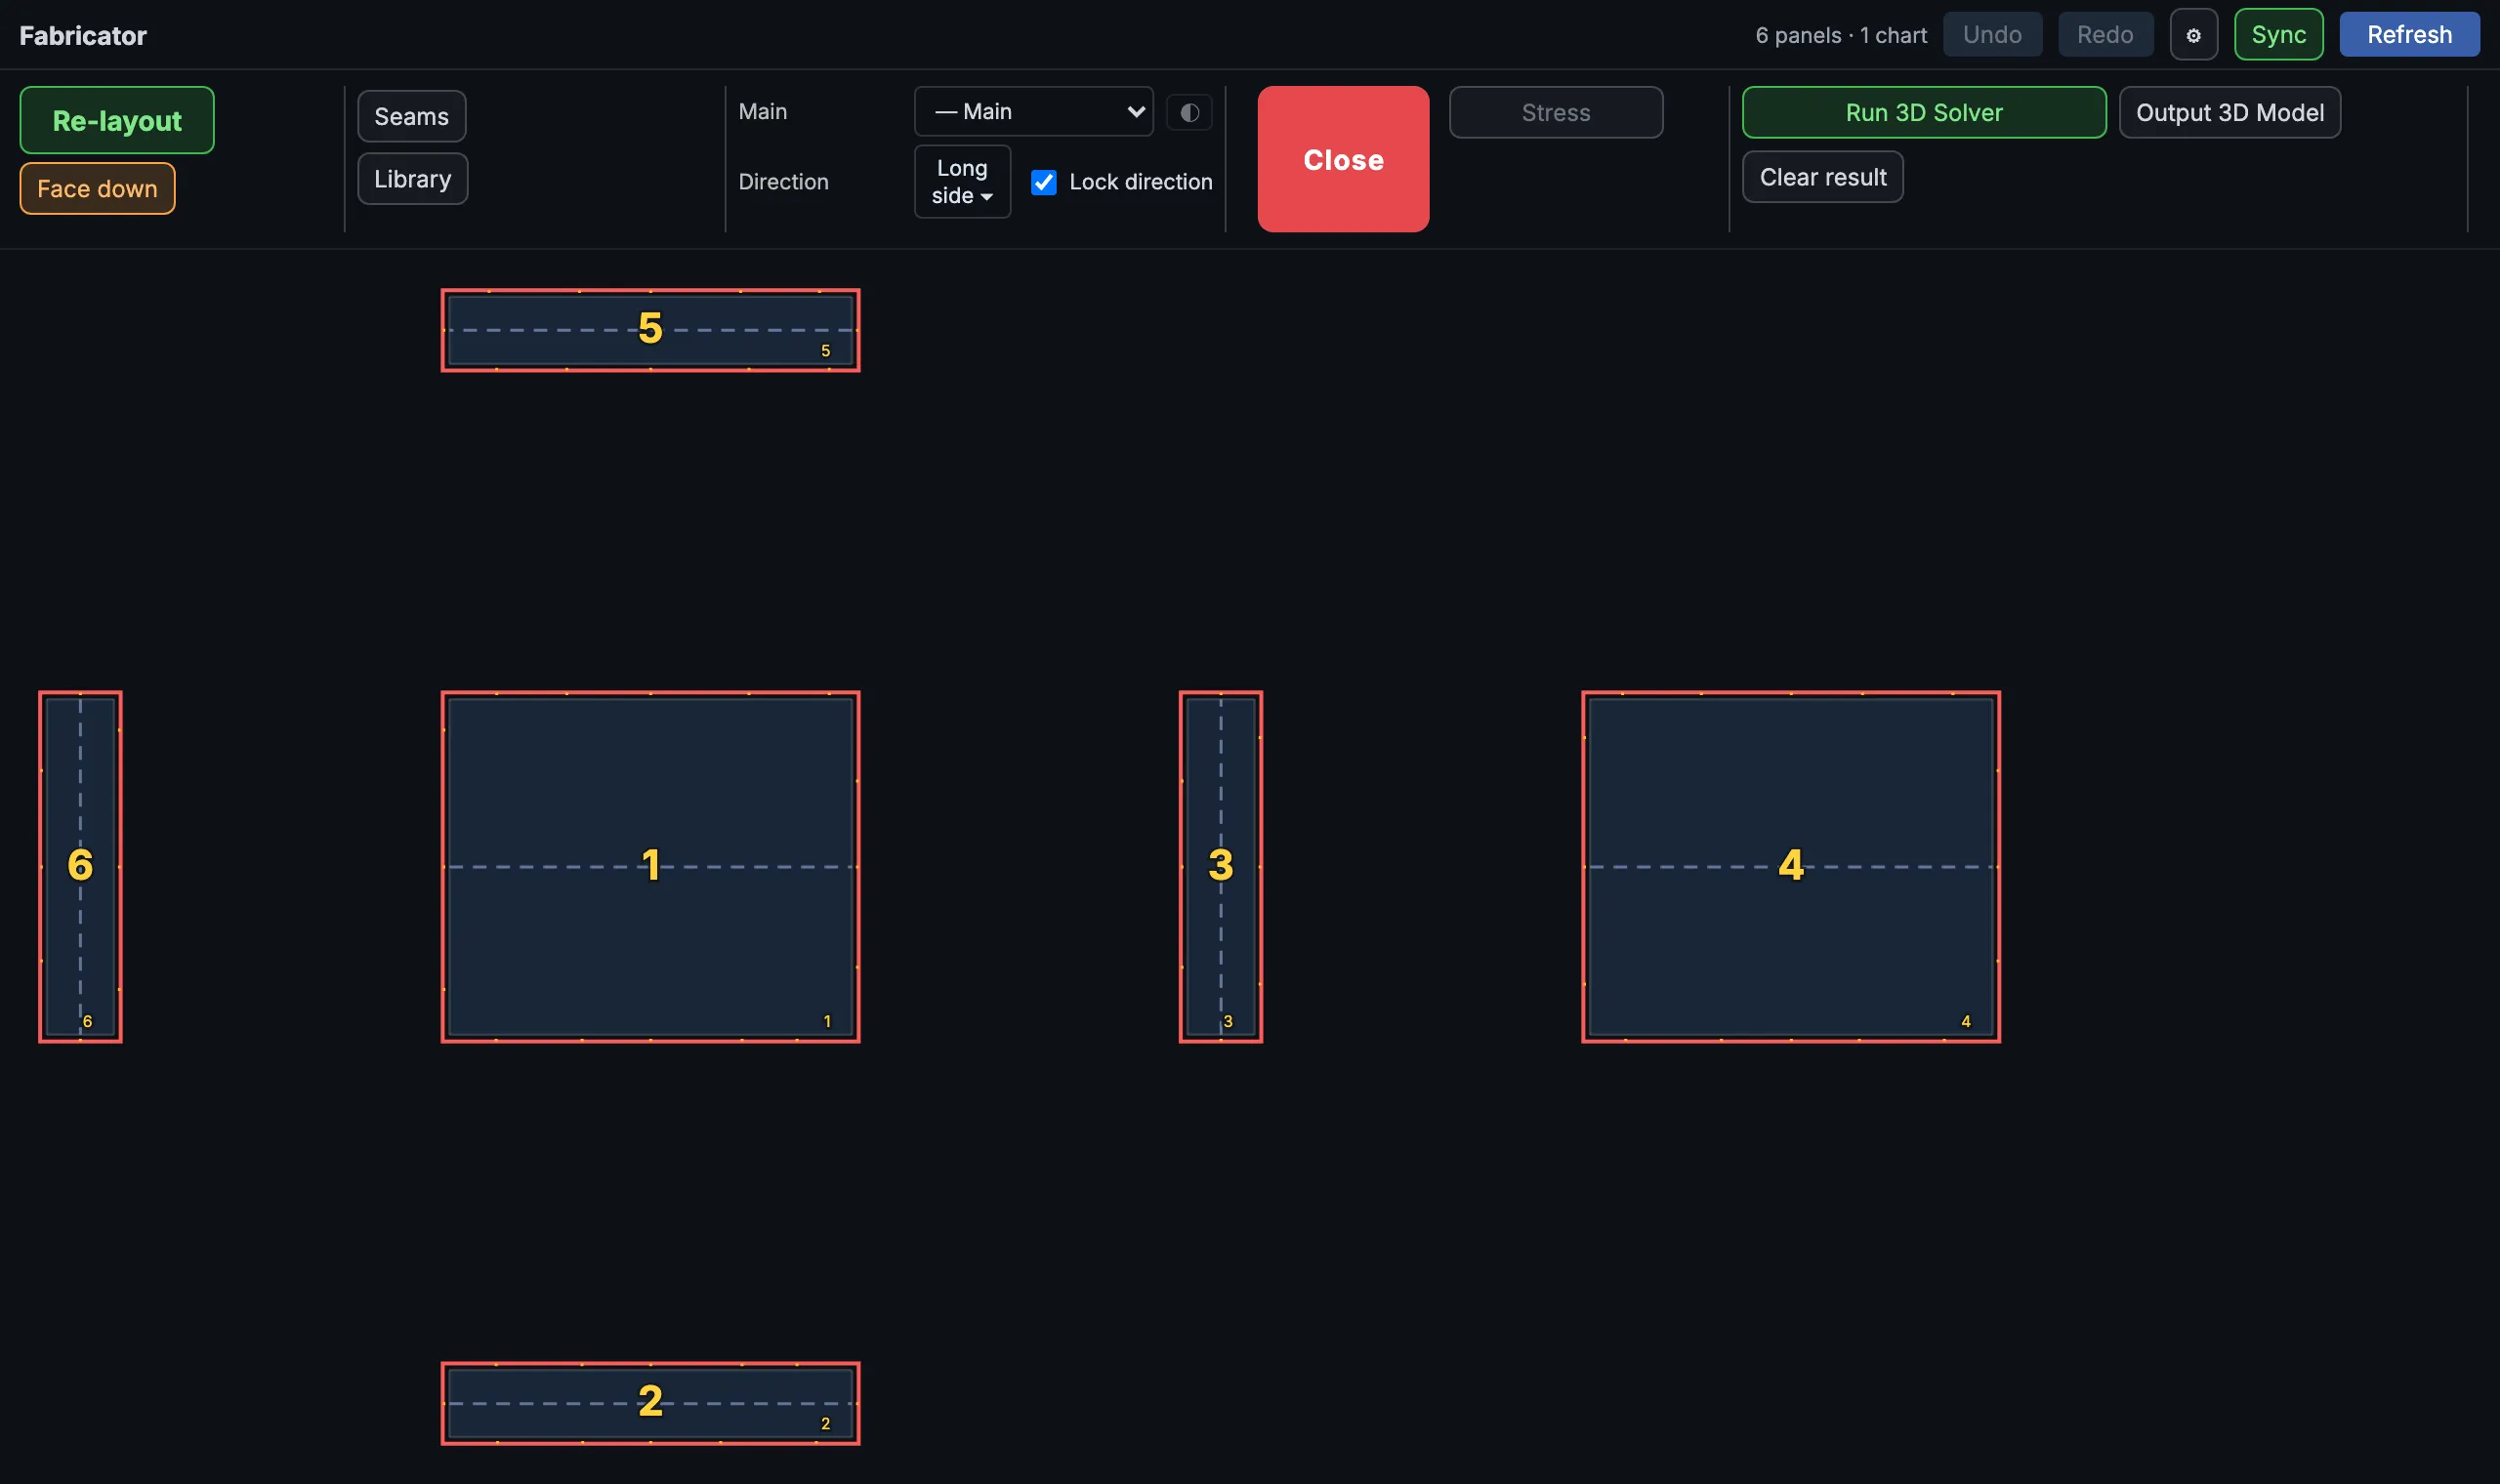
The Atlas as it opens. -
Press Re-layout. The panels are laid out together on one card.
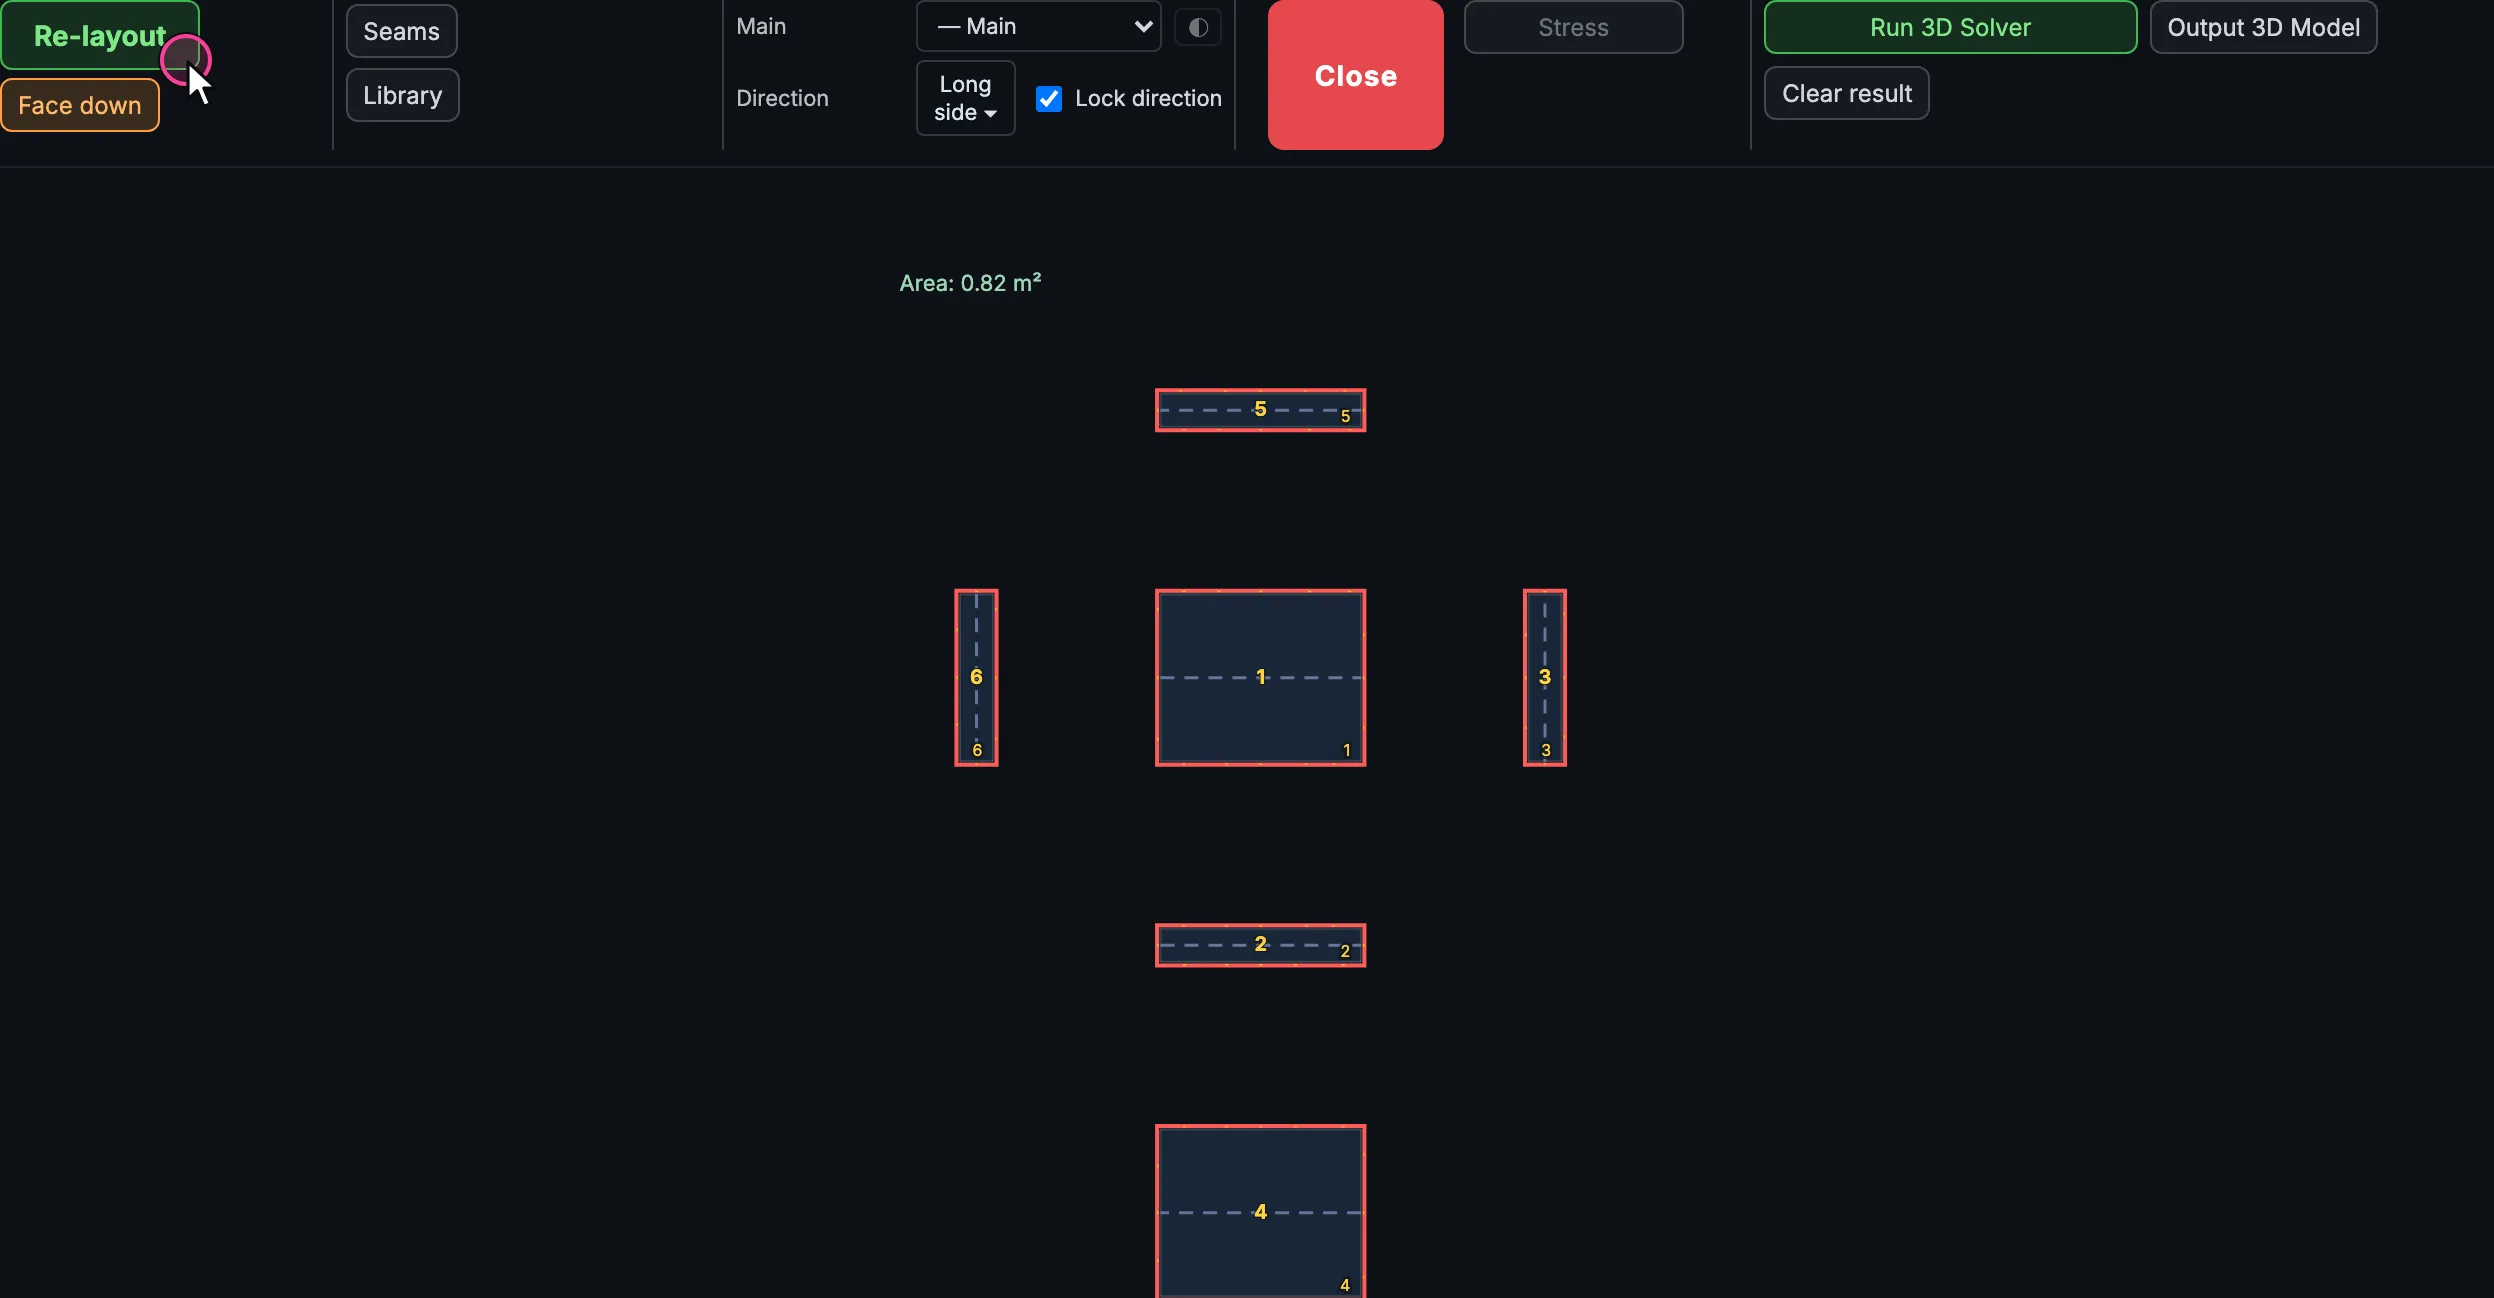
After Re-layout. -
Choose a Main material in the Materials column. The estimate above the card now gives the length of material the cushion takes.
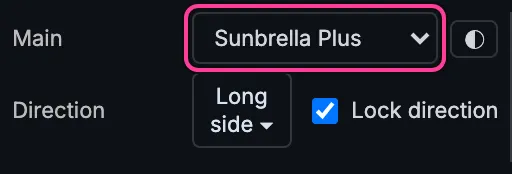
Sunbrella Plus as the Main material. -
Rest the pointer on the Output column so its tools drop down, and press Output 2D patterns. The flat panels are drawn in Rhino with their cut lines, seams, marks and numbers.
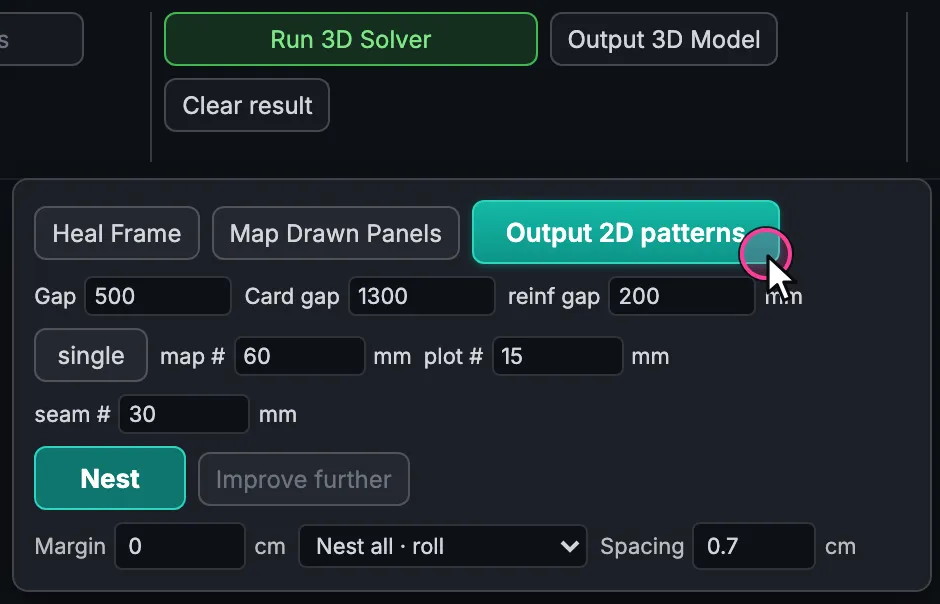
Output 2D patterns, in the Output column's drop-down. -
Press Nest. Fabricator packs the pieces on the material for about 30 seconds and draws the layout in Rhino.
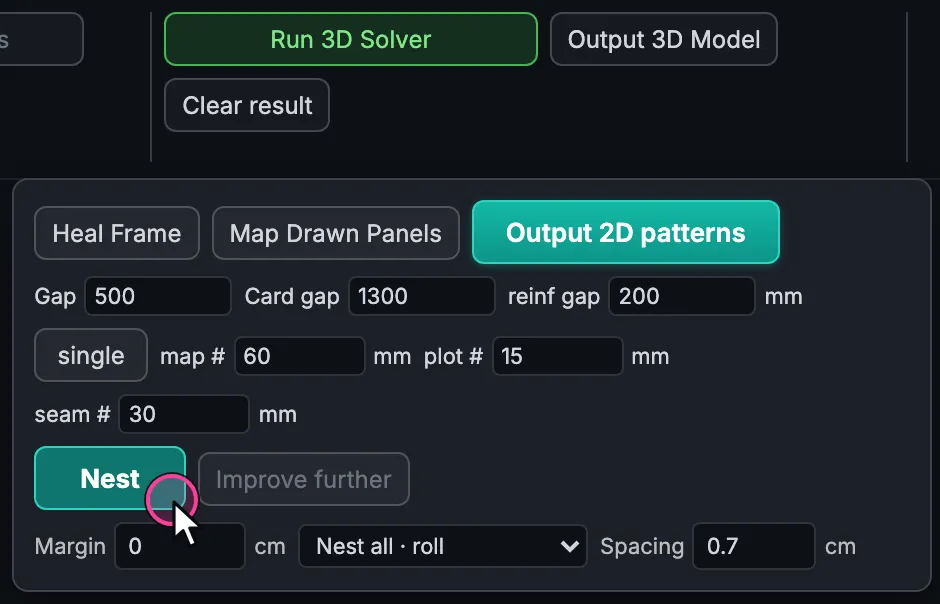
Nest, lower in the same drop-down.
What next
Section titled “What next”- A tour of the screen names every part of the panel and the Atlas.
- Draw the wireframe shows how to give the cushion a sloped side, and how to draw shapes that are not boxes.
- Assign seams gives the edges real seam types, such as a zipper on the back.