3. Set the material
Set a material early. Suggested cuts, the estimate and the nest all depend on it. Everything on this page is in the Materials column of the Atlas toolbar and in the right-click menu of a panel.
The project’s material
Section titled “The project’s material”-
In the Materials column, choose Main. Every panel now uses it. Main also sets Reinf 1, Reinf 2 and Custom reinf to the same material.
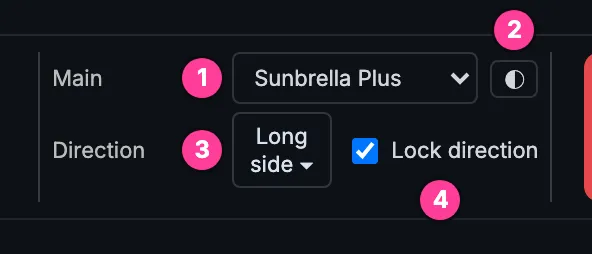
- Main. The project’s material. Every panel uses it unless you give one its own.
- Colour. Shows ◐ while the material has no colour.
- Direction. The rule for how the panels lie on the material.
- Lock direction. Ticked, a direction line cannot be dragged by accident.
The top of the Materials column, with Sunbrella Plus as Main. -
Look at the dashed direction line on each panel: it shows how the panel lies on the material. Change the rule with Direction if the default doesn’t suit the job.
-
If the reinforcements are cut from another material, rest the pointer on the Materials column and set Reinf 1, Reinf 2 and Custom reinf in its drop-down. Choosing Main again later sets all three back to it.
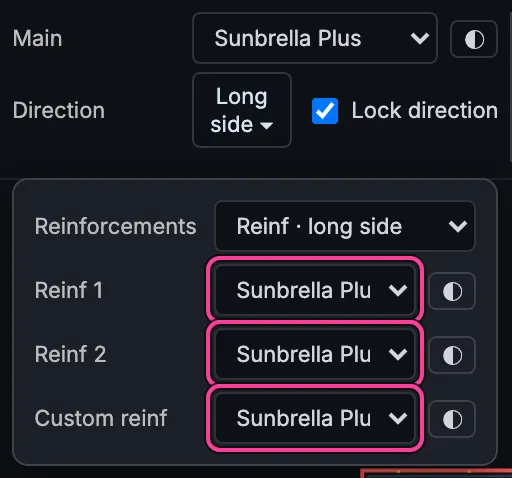
The reinforcement materials, in the drop-down of the Materials column.
The list of materials comes from your material library (see below): the ones you used recently first, then every material by type.
Material direction
Section titled “Material direction”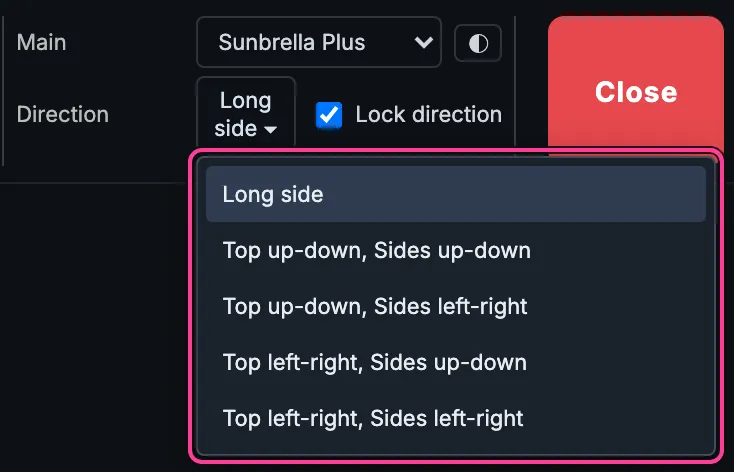
- Long side is the default: each panel lies along its longer side. The other four rules set the top faces and the side faces separately: Top up-down or Top left-right, with Sides up-down or Sides left-right.
- Choosing a rule, even the one already chosen, gives every panel its automatic direction again. Directions you turned by hand are lost, so choose the rule first and turn single panels after.
- To change one panel’s direction by hand, untick Lock direction first. While it is unticked you can drag a direction line (Shift snaps to 15°), or double-click it to turn it 90°.
- Tick Lock direction again when you are done. A drag over a line then moves the panel instead, so a direction can’t be changed by accident. Lock direction is ticked when you start.
Reinforcements, at the top of the Materials drop-down, says how the reinforcement pieces turn on the material when they are nested: Reinf · long side (the default) lays each along its longer side, Reinf · inherit keeps the direction of the panel it belongs to. It does not move anything on the map.
Panels wider than the roll
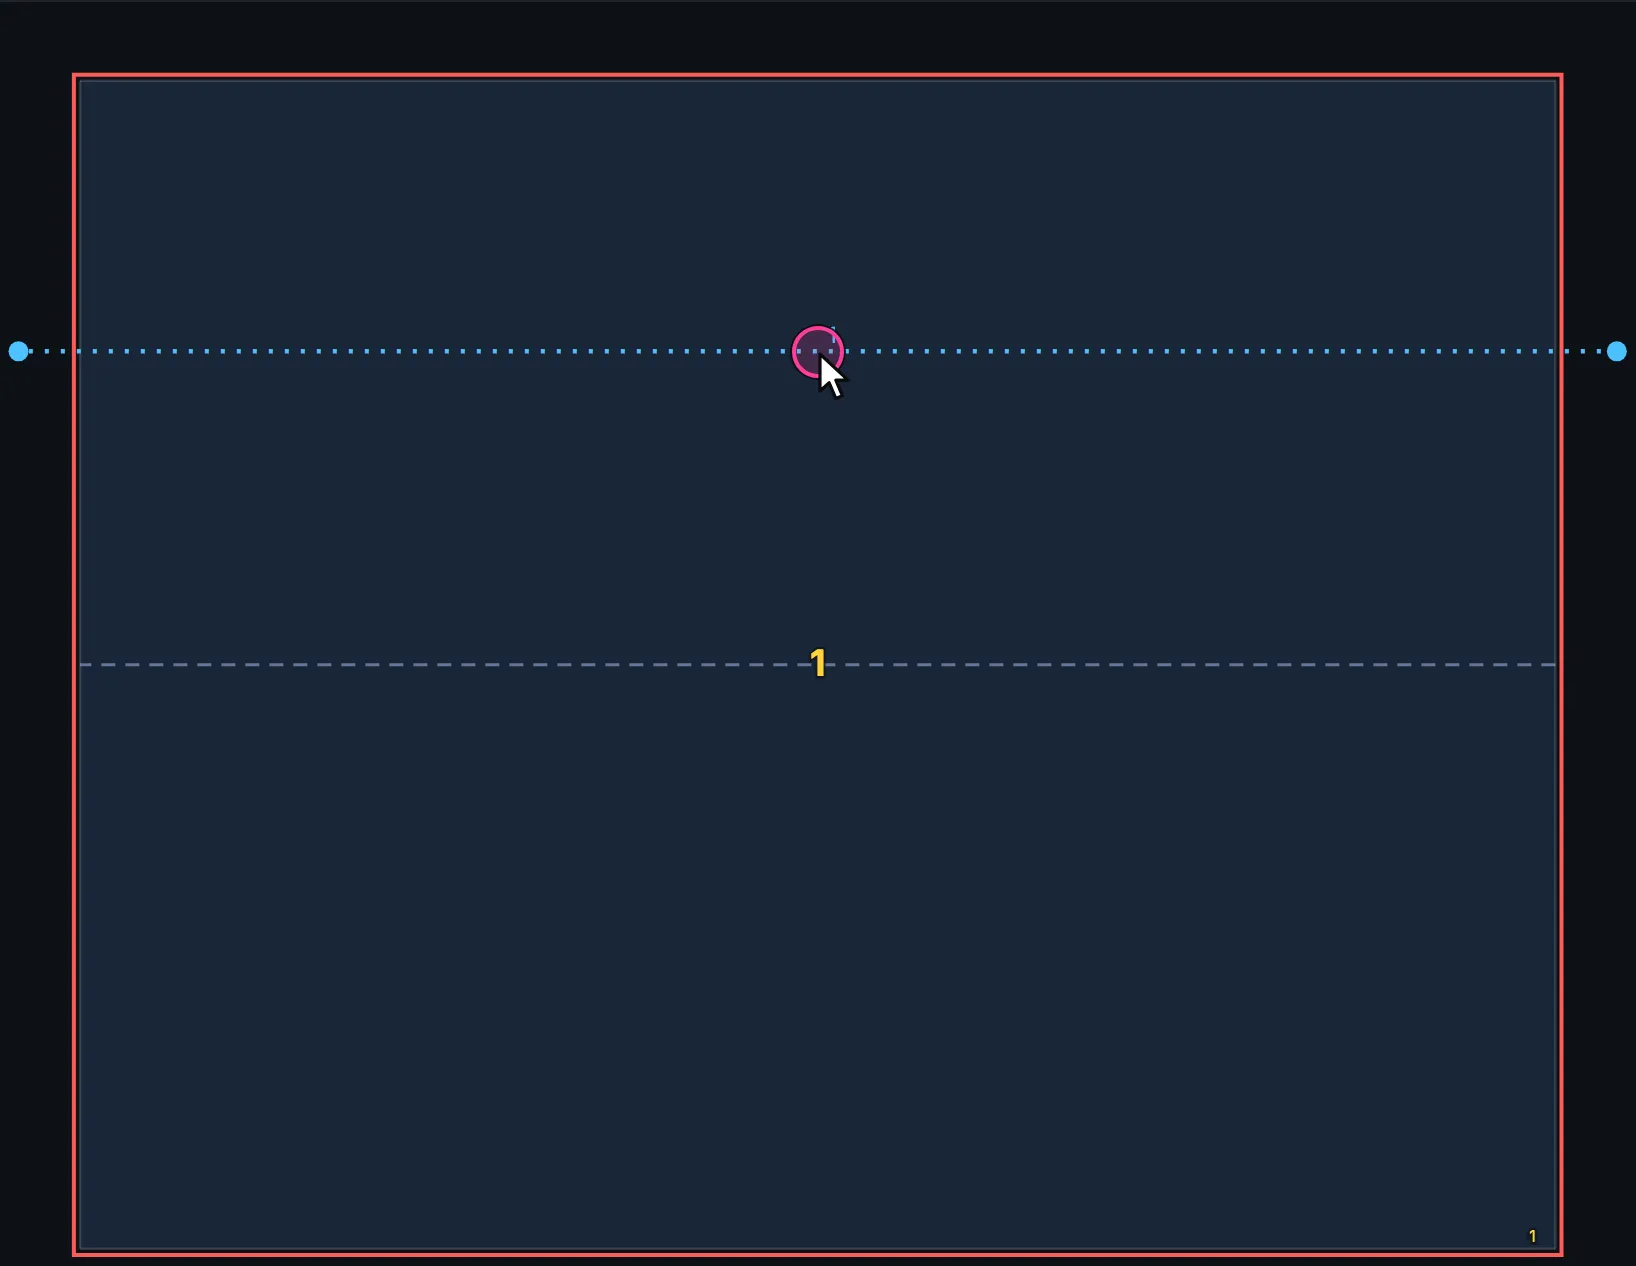
Section titled “Panels wider than the roll”A panel that doesn’t fit the material’s usable width shows light-blue dotted lines with a round handle at each end: suggested cuts. Fabricator works them out from the usable width and the material direction, so they turn when you turn the direction. Each has a small number.
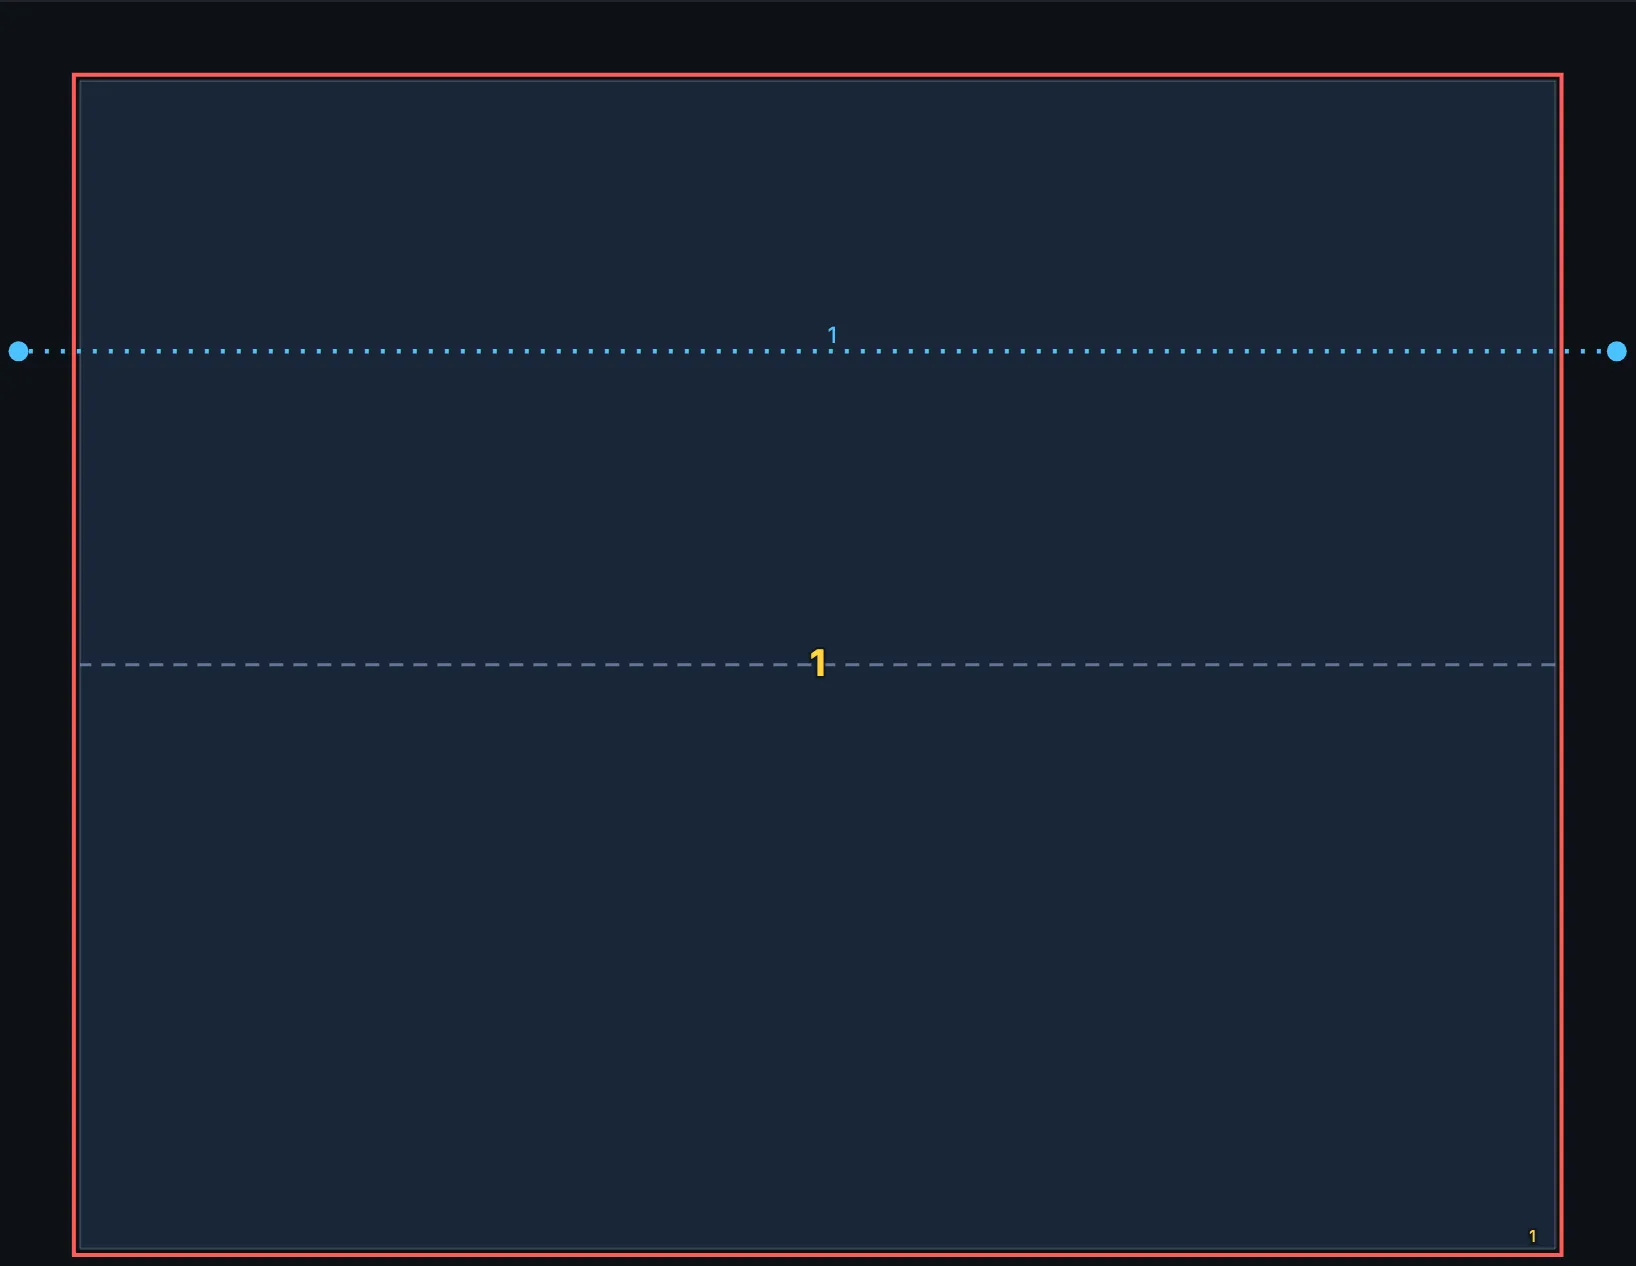
- Move them. Drag a handle to slide the cut to where you want it on the panel.
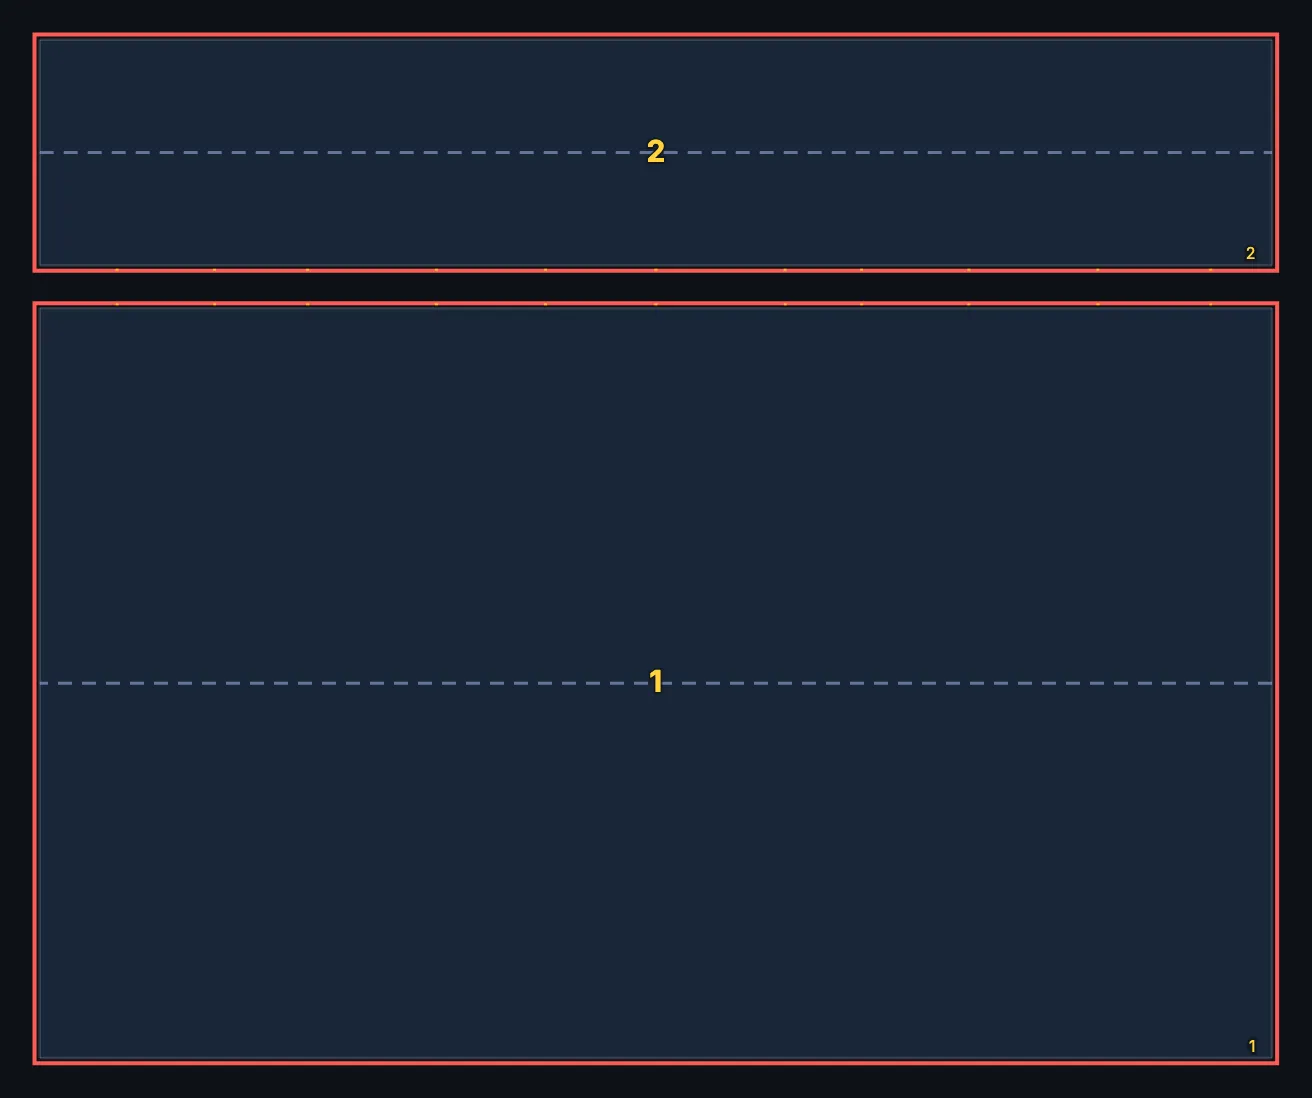
- Click a line to cut. The panel becomes two panels along the line, and, as with Split, a Seam is added to the wireframe in Rhino.
- Line them up with the neighbour. Where the panel next door already has a cut that meets the shared seam, a yellow ring with a cross shows the matching spot on both panels while you drag the handle near it. Let the cut catch on it, and the two cuts meet at the same point of the seam.
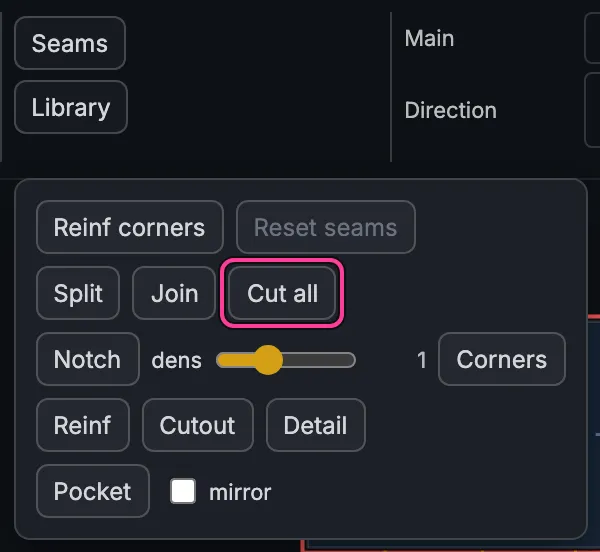
- Cut all, in the drop-down of the Fabrication column, makes every suggested cut at once. One Undo takes them all back.
A different material for one piece
Section titled “A different material for one piece”Select a panel, or any separately cut piece such as a reinforcement or a window glass, and right-click it.
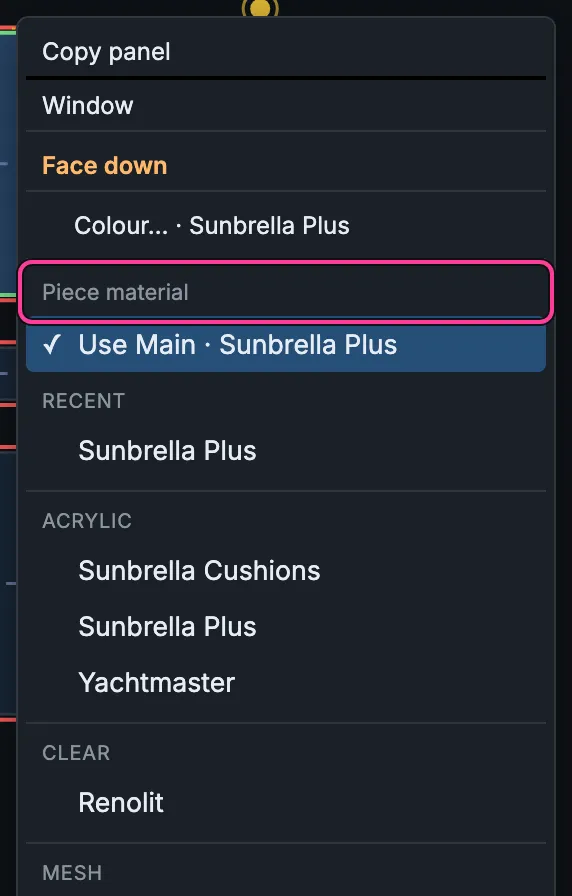
- Under Piece material, Use Main puts the panel back on the project’s Main material. Below come the materials you used recently, then your whole library by type. A choice applies to every selected panel and clears the selection.
- On a separately cut piece the first choice is the material of its kind, for example Use Seam reinf 1 for a reinforcement strip.
- Colour… gives the material a colour (see below).
- Copy panel and Window are explained in Copies and pockets and Windows; the face row in Open the Atlas.
Colours
Section titled “Colours”The same material often comes in several colours: white vinyl for the seat, navy for the back.
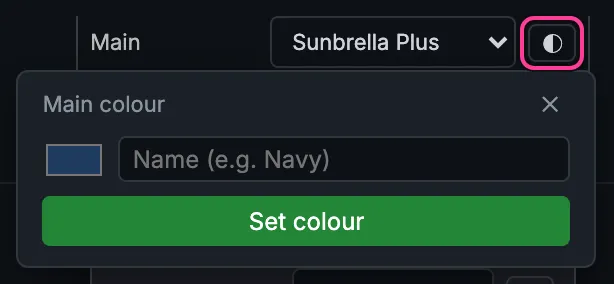
- Choose Colour… in a piece’s menu, or click the colour button beside a material in the Materials column. The button shows ◐ while the material has no colour, and the colour itself once it has one; it is greyed until a material is chosen.
- Pick one of the material’s colours already in the project, or choose a new one, give it a name such as Navy, and press Set colour. No colour takes the colour off again.
- A coloured material is a copy for this project, named material · colour, for example Sunbrella Plus · Navy. Your library does not change.
- Coloured panels are tinted in the Atlas and in the 3D preview. The nest packs each colour on its own sheets, and the estimate counts it separately.
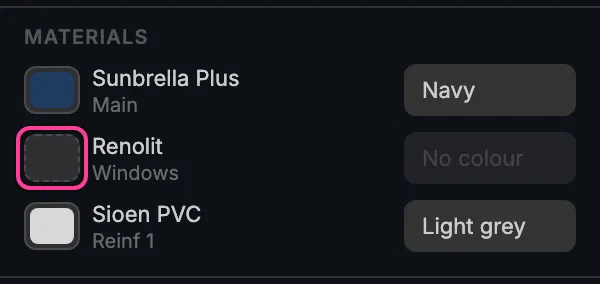
The Materials list at the foot of the Fabricator panel shows every material in use, with what uses it. Click a colour there to change it: everything that uses the material follows. A dashed, empty swatch is a material with no colour yet; click it to give it one. The Atlas has to be open for a colour to change.
Your material library
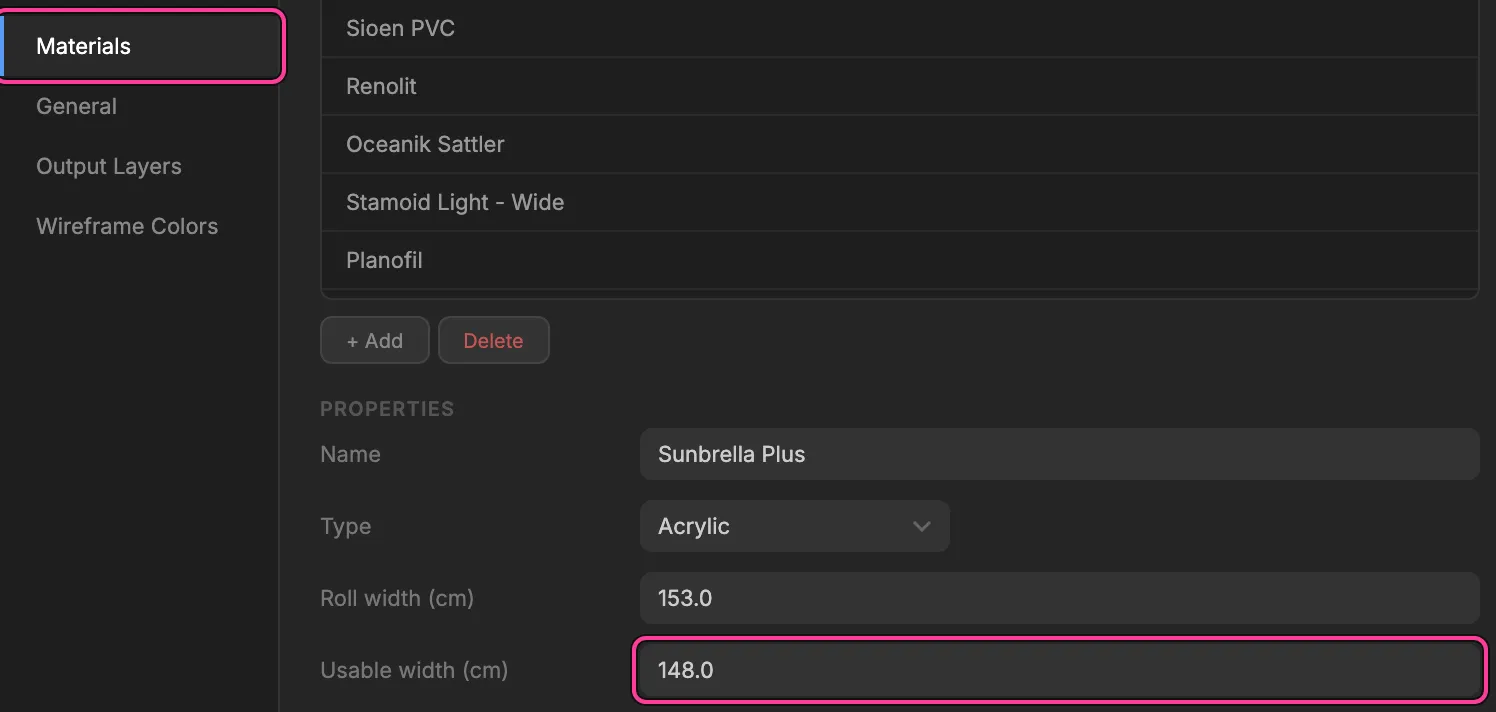
Section titled “Your material library”Settings → Materials holds your shop’s materials: Name, Type, Roll width and Usable width, in cm (in inches when Units is Imperial). Fabricator comes with a starter list. Add your own with + Add and correct the widths: the usable width is what decides the suggested cuts and the nest. The Types list below sorts the materials into groups.
The estimate
Section titled “The estimate”With Show → Estimate ticked (it is, unless you untick it), each card shows above its panels the net area of the panels and the length of material they take, per material. The length is approximate: it assumes 70 % of the material is used. It is good for quotes; the nest gives the real figure.
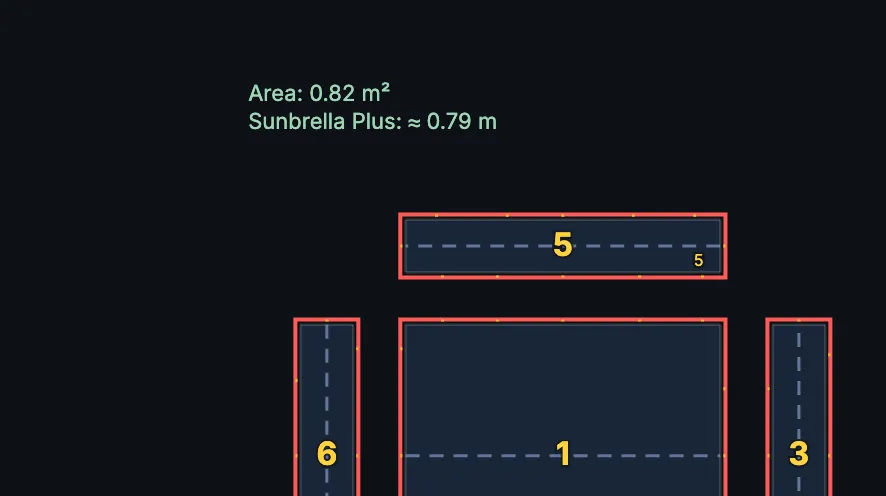
Select panels and a Selection estimate for just those appears at the top left of the map.