
6. Shape and detail the panels
Everything on this page is done on the flat panels in the Atlas. A cut or a join shows at once, and the wireframe in Rhino follows: a split adds a Seam to the wireframe along your cut. The tools are in the drop-down of the Fabrication column; rest the pointer on the column to open it.
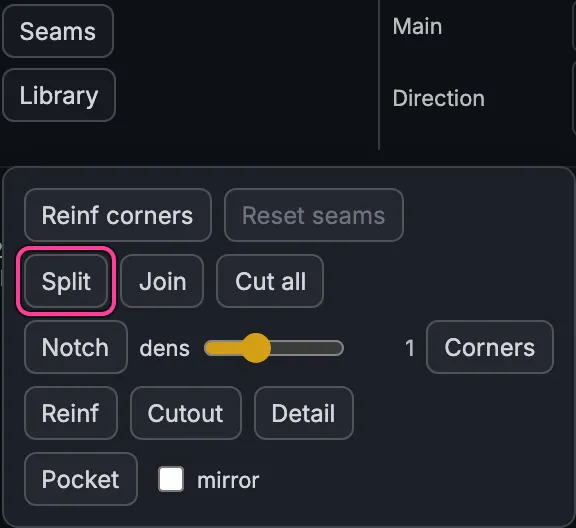
The letters in this page (S, J, N) are keyboard shortcuts. They are not written on the buttons. Press the same key again, or Esc, to put the tool down.
Split a panel
Section titled “Split a panel”-
Click Split, or press S. Its name lights in the top row of the Fabrication column while it is on.
-
Click an edge of the panel where the cut starts. A click inside the panel adds a point on the way; hold Shift while you click for a curved stretch.
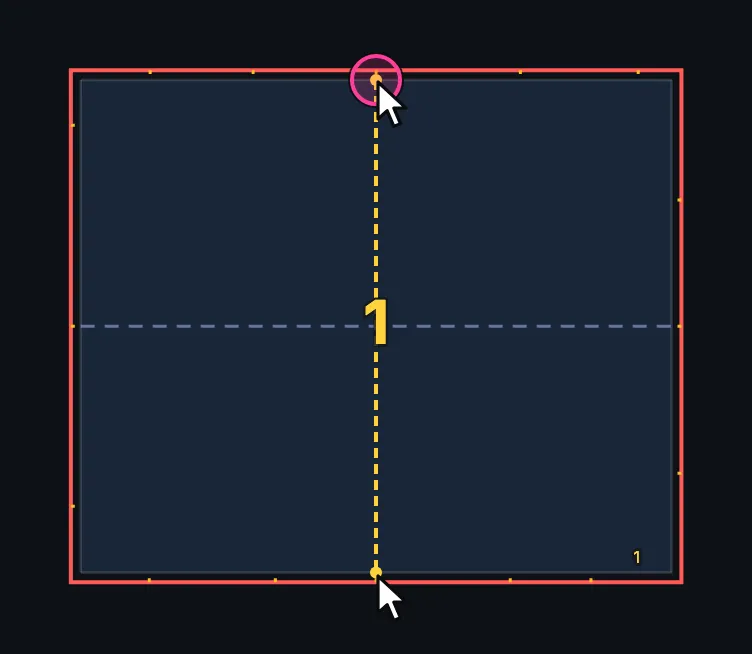
The cut starts on the top edge; the pointer is on the bottom edge. -
Click another edge of the same panel where the cut ends. The panel becomes two, and both are numbered again.
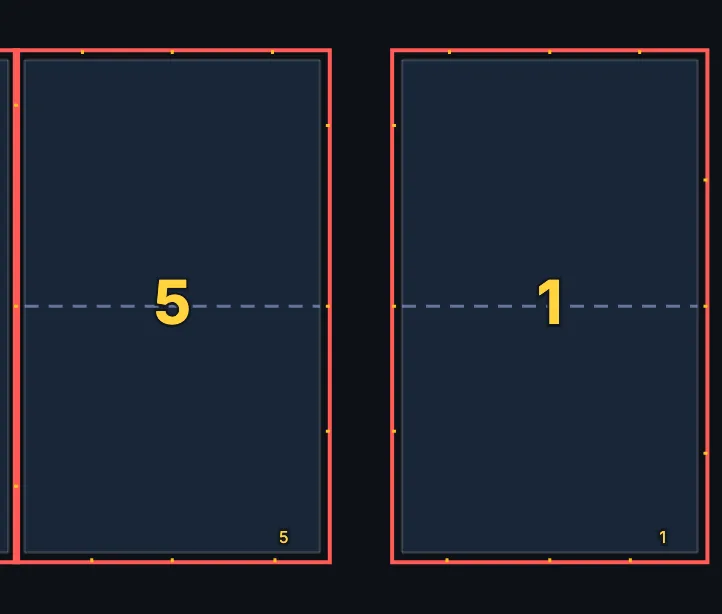
The top panel of the cushion after the split: two panels.
One Undo (Ctrl+Z) takes a split back.
Join two panels
Section titled “Join two panels”-
Click Join, or press J.
-
Click the edge between the two panels. They become one panel, and the edge becomes a join.
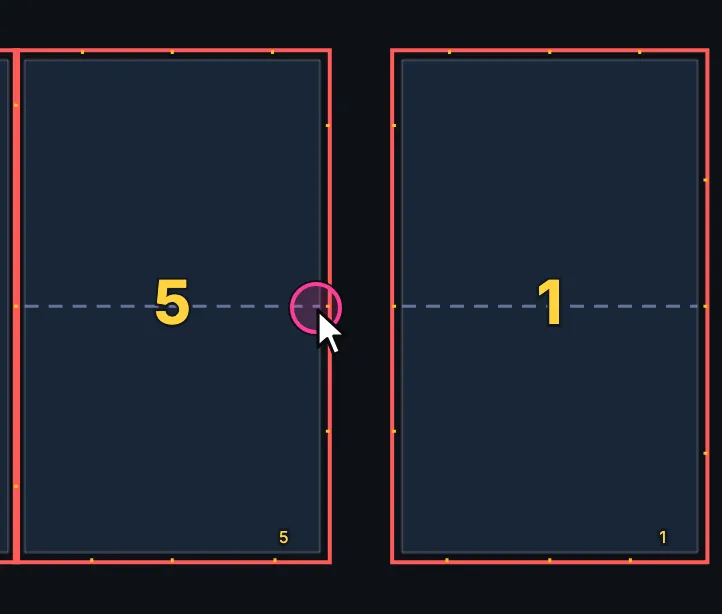
Join is on. The panels lie apart on the map, so the edge they share is drawn on each of them; here it is clicked on the left one. 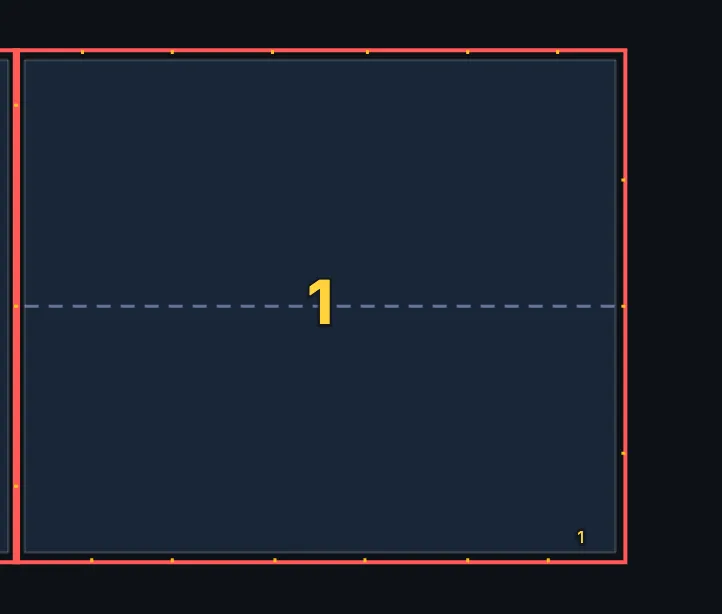
The two panels are one again.
Click a join with Join on to separate the panels again.
Suggested cuts
Section titled “Suggested cuts”A panel wider than its material’s roll gets light-blue dotted lines: the cuts the Atlas suggests. Click one to make that cut, drag a round handle at its end to slide it, or click Cut all to make every suggested cut at once. One Undo takes them all back. Set the material shows them in use.
Line up across a seam
Section titled “Line up across a seam”Two panels that share a seam usually want their cuts, reinforcements and marks to meet at the same point of that seam. While you draw a Split, a Reinf, a Cutout or a Detail near a shared seam, a yellow ring with a crosshair shows where the panel on the other side made its cut, or where its reinforcement or detail ends. Move close to it and the pointer catches on it; click there, and your line starts or ends exactly opposite your neighbour’s. Suggested cuts catch on the same mark while you slide them.
Notches
Section titled “Notches”Fabricator places alignment notches along the seams for you, matched on both sides of each seam.
- dens sets how many automatic notches there are, from 0 to 3. 1 is the default, 0 removes the automatic ones, higher is denser.
- With Notch on (N), click near a panel edge to add a notch of your own; the neighbouring panel gets its match. Click a notch to remove it.
- The notches you added stay whatever dens is set to.
- How deep a notch is and its shape are in Settings → General: Notch depth (4 mm by default) and Notch type (I notch, V notch or Point).
More on the flat panels
Section titled “More on the flat panels”- Reinforcements, cutouts and detail marks: patches, holes and reference marks you draw on a panel.
- The Detail library: details you draw once and place again and again.
- Windows: clear openings with their glass.
- Copies and zipper pockets: a panel cut more than once, and pockets along an edge.
When the panels are right, go on to 7. Output and nest.