
4. Assign seams
A seam type says how one side of an edge is made: how far the material extends past the line you drew, where the pen lines go, whether there is a reinforcement. Your seam types live in a seam profile. Fabricator comes with two default profiles, Metric Default and Imperial Default, to start from.
Every edge starts with the profile’s default seam type, Seam. You change it where it needs something else: a zipper, a hem, a bound edge.
Giving edges their seam types
Section titled “Giving edges their seam types”An edge between two panels has a side on each panel, and each side has its own seam type. You pick the side of the panel you click on.
-
Click Seams in the Fabrication column. The button lights up.
The Seams tool is on. -
Click an edge of a panel. That side of the edge is picked and drawn in orange.
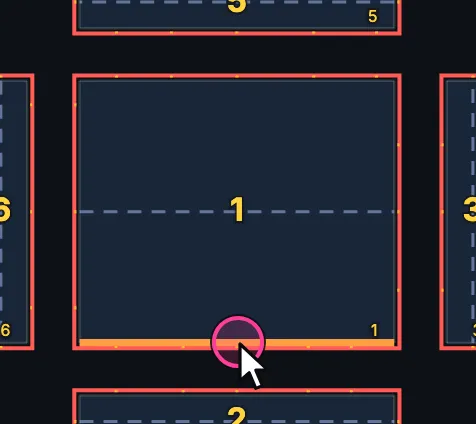
One side of panel 1's lower edge is picked. -
Shift+click to add more edges. Ctrl+click takes one away.
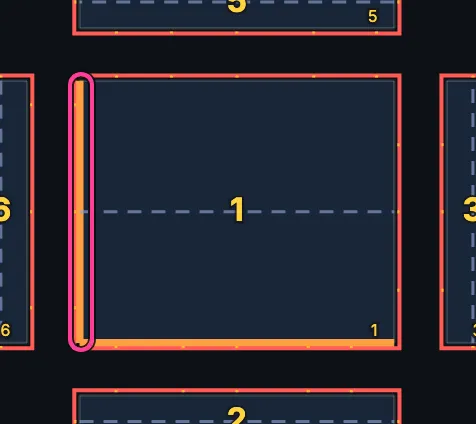
A Shift+click added the left edge: two sides are picked. -
Right-click anywhere. The Seam types list opens, with a card for each seam type in the profile.
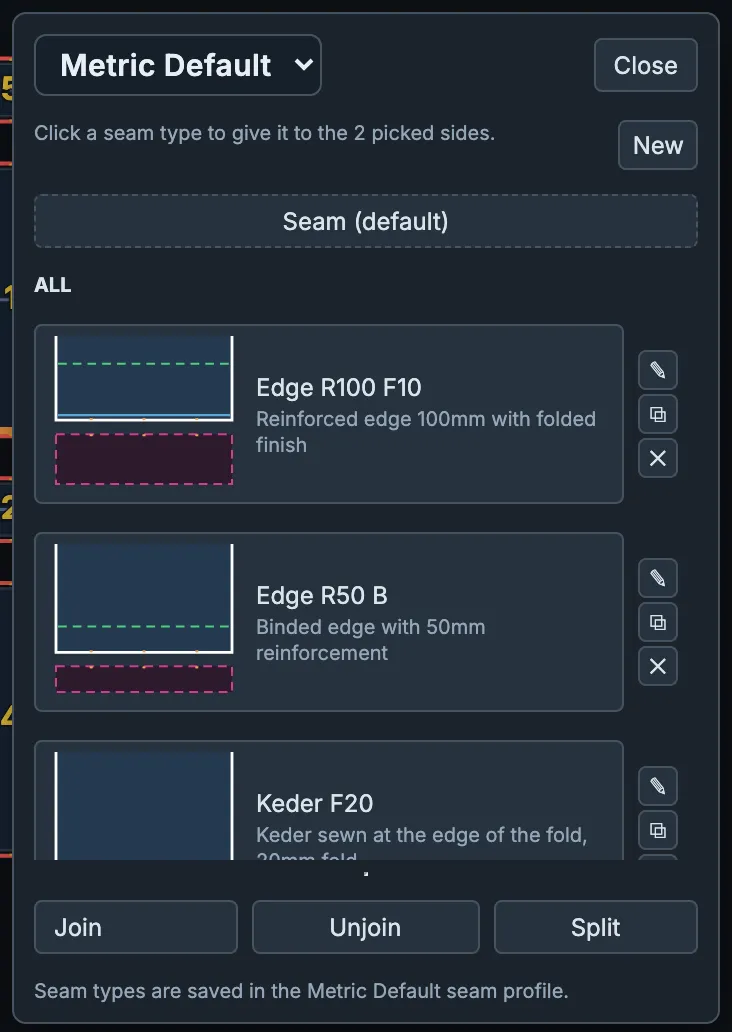
The Seam types list, for the two picked sides. -
Click a card. The picked sides take that seam type, and the panels are redrawn at once.
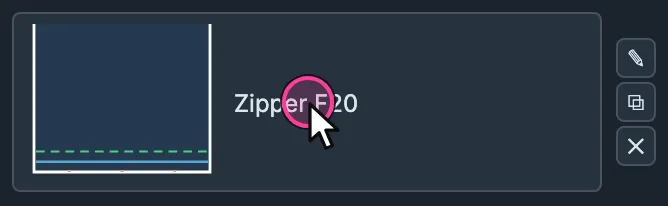
Click the card of the seam type you want. 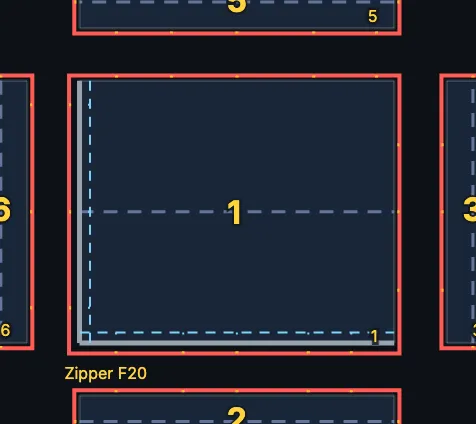
Panel 1 with Zipper F20 on its lower and left edges. The name is written beside the edge.
You can assign seams before or after the 3D solve.
In the Seam types list
Section titled “In the Seam types list”| Control | What it does |
|---|---|
| The profile name, at the top | Switches the active seam profile, as in Settings. |
| Close | Closes the list. Esc does the same. |
| New | Makes a new seam type in the profile. |
| Seam (default) | Puts the picked sides back on their default seam type. |
| A card | Gives that seam type to the picked sides. The ones you used recently are under RECENT, every one under ALL. |
| ✎ ⧉ ✕ beside a card | Edit, duplicate or delete that seam type. Deleting asks first; edges that use it go back to their default seam. A profile keeps at least one seam type. |
| Join | Joins every touching pair of picked edges on this side only, so they are made as one continuous run, for example one reinforcement strip around a corner. |
| Unjoin | Takes those joins apart again, on this side only. |
| Split | Lets you pick points along the edges (a crosshair appears); a right-click confirms, Esc cancels. The picked side is split there, so each piece can have its own seam type; the other side stays as it was. |
Changes you make in the list are saved in the profile: the line at its foot says which one.
Corners and reinforcement ends
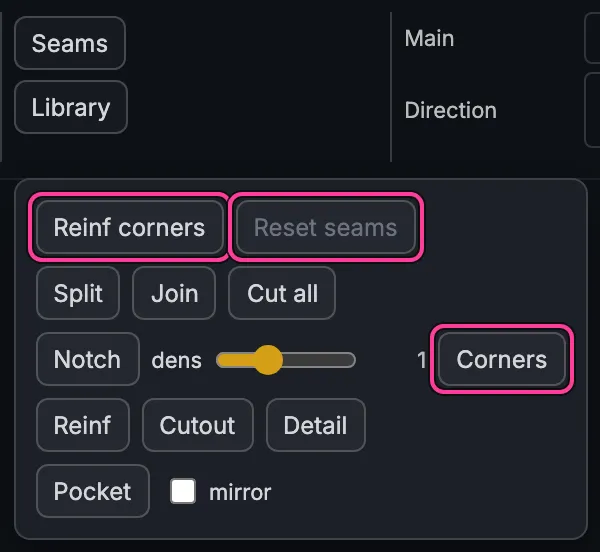
Section titled “Corners and reinforcement ends”Both tools are in the drop-down of the Fabrication column. Turn one on, click, and click the button again to turn it off.
-
Corners is where two seam allowances meet. Each corner shows a small diamond. Click one and a menu of three endings opens: Miter (the default, a regular ending), Square (a 90° cut) or Fold. Click the one you want. The menu does not mark the current ending.
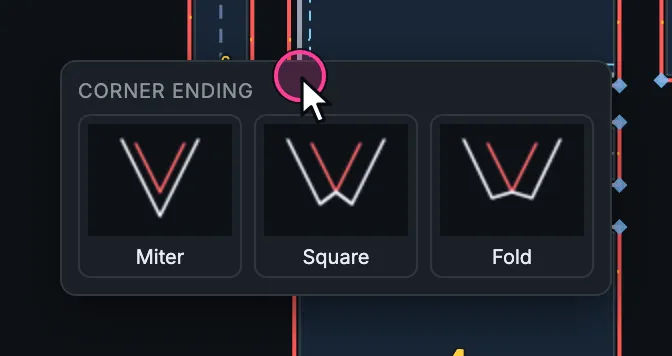
A click on a corner's diamond opens the three endings. -
Reinf corners is how a reinforcement strip ends. Click the dot at a seam end to switch between Neighbor (blue, runs on to the next edge) and Perpendicular (orange, a 90° cut-off).
Reset seams
Section titled “Reset seams”Reset seams sets every seam of the selected panels and cards back to the default seam type of the active profile. It is greyed while nothing is selected.
What is in a seam type
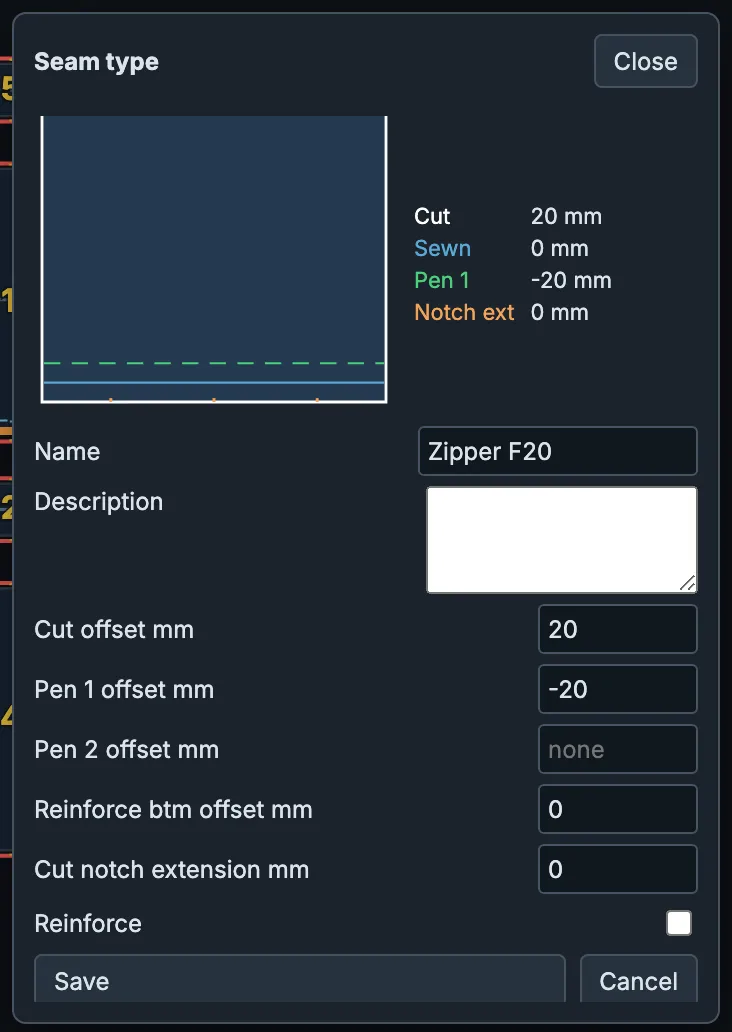
Section titled “What is in a seam type”All values are measured from the line you drew in 3D. Positive is outward from the panel, negative is inward. The labels are the same in the list’s editor and in Settings → Seam Types.
| Value | What it is |
|---|---|
| Name and Description | What the seam type is called on the cards and in the output, and a line about it. |
| Cut offset | Where the material is cut. A fold or a hem needs extra material beyond the finished edge; a bound or raw edge does not. |
| Pen 1 offset | The main mark on the piece: the inner edge of a reinforcement, a fold line or a zipper position. The line the sewer works to. Leave it empty for none. |
| Pen 2 offset | A second mark, when Pen 1 is taken and another line is needed. |
| Reinforce btm offset | How far this edge’s reinforcement runs toward the finished edge, and how far a neighbour’s reinforcement runs along this edge. |
| Cut notch extension | The depth of the alignment notches. Almost always left at 0. |
| Reinforce | When ticked, Fabricator makes the reinforcement piece for this edge, ready to cut. |
With Reinforce ticked, the editor in the Atlas also offers Reinf notch: notches on the reinforcement strip, either Cut into the strip or drawn on it with the Pen.
The Seam profile guide explains every value with worked examples, and how to name seam types so they read at a glance.
Where the profiles are kept
Section titled “Where the profiles are kept”Seam profiles are kept on this computer, one file per profile, in the Fabricator/Seam profiles folder in your Documents. Manage them in Settings → Seam Types: the buttons beside Profile make a new profile, duplicate or delete the selected one, or set it as the default (★).