
Copies and zipper pockets
Copies
Section titled “Copies”Use a copy when the same panel is cut more than once, such as two equal side panels from one wireframe, or when a piece needs an extra reinforcement or a second glass.
Copy a panel
Section titled “Copy a panel”Hold Alt and drag the panel: the original stays, and the copy goes where you drop it. Or right-click the panel and choose Copy panel (or Copy panels with several selected): each copy is placed beside its panel.
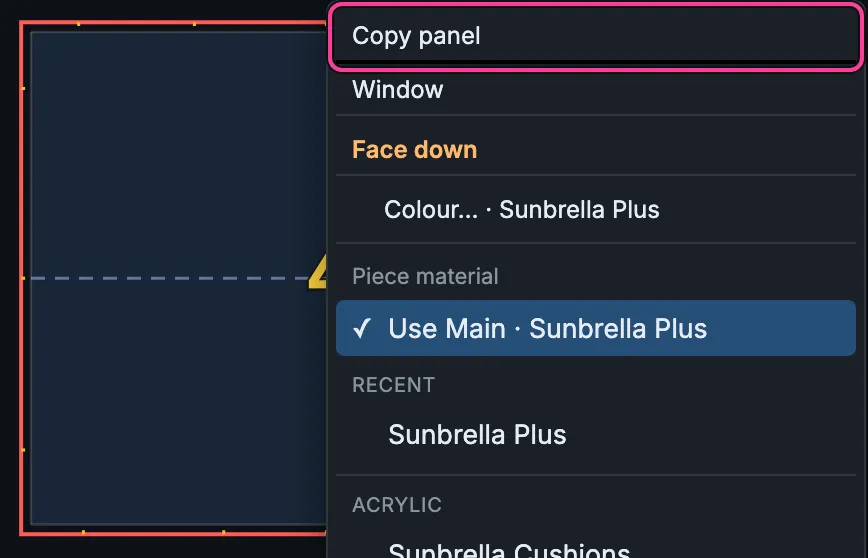
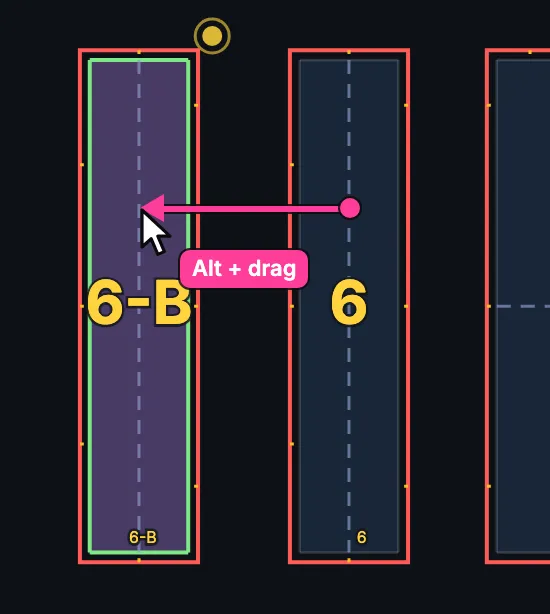
The copy has the same shape and is named after its original with a letter: 6-B for the first copy of panel 6, 6-C for the next. Its material, seams, reinforcements and details start as the original’s and are then its own. Esc during an Alt+drag takes the copies back.
Copy a reinforcement or a glass
Section titled “Copy a reinforcement or a glass”- Alt+drag a reinforcement strip or patch for an extra one, with its own place, material and flip. It keeps the shape of the one it was copied from.
- Alt+drag a window’s glass for an extra glass, with no extra opening in the panel.
Remove a copy
Section titled “Remove a copy”Select the copy and press Delete, or right-click it and choose Delete copy (Delete copies for several). The original cannot be removed this way: the row shows only when every selected panel is a copy.
Zipper pockets
Section titled “Zipper pockets”A zipper pocket runs along one or more panel edges. Its shape comes from its pocket type: the pocket’s width, where its pen lines and zipper go, its side reinforcement and its strap holes.
-
Click Pocket in the Fabrication drop-down.
-
Click the edges the pocket runs along. A click picks the whole seam; hold Alt to pick only the stretch you click. Shift+click adds an edge.
-
Right-click anywhere. The pocket menu opens, titled Pocket · 1 edge (the number of edges you picked).
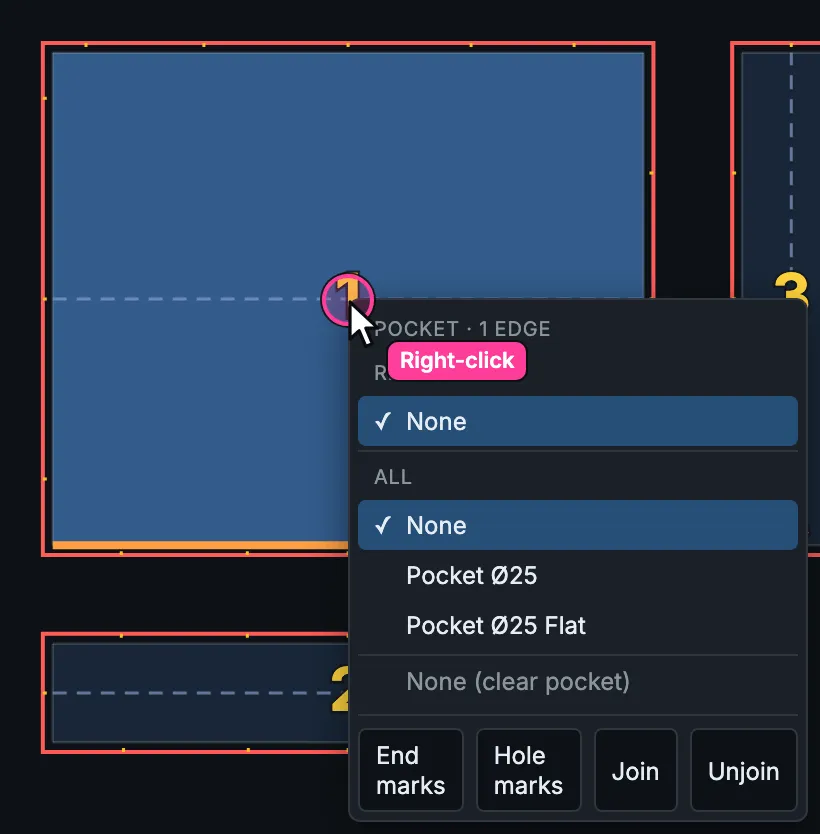
The pocket menu, with the front edge of panel 1 picked. -
Click a pocket type, such as Pocket Ø25 Flat. None clears the pocket from the picked edges.
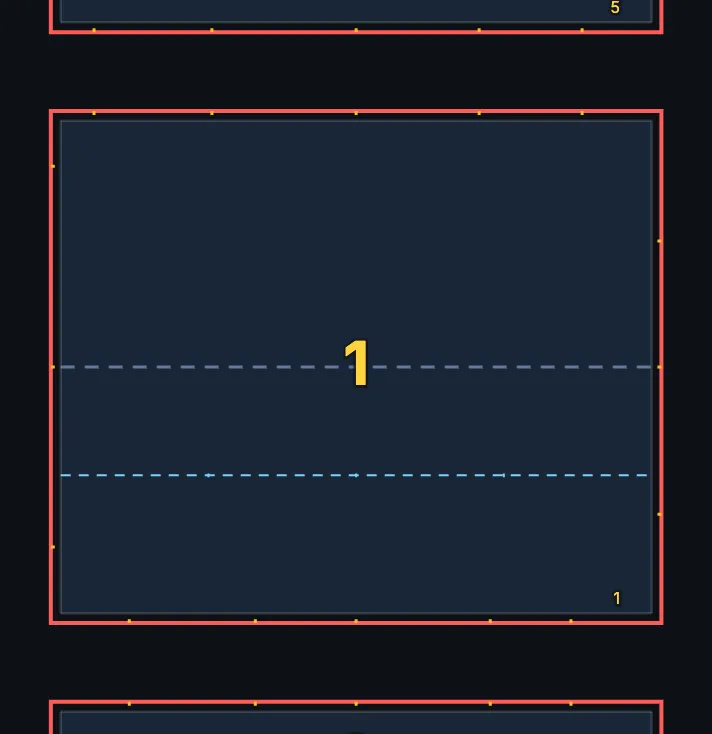
The pocket on the front edge of panel 1.
The menu opens with nothing picked too, titled Pocket tools, for the buttons at its foot:
| Button | What it does |
|---|---|
| End marks | Click on a pocketed edge to mark where the pocket starts and ends; marks come in pairs, and with none the pocket runs the whole edge. On a pocket joined across panels, a mark on the first and on the last panel shorten the whole run. Click a mark to remove it. |
| Hole marks | Click on a pocketed edge to place a strap hole. Click a mark to remove it. |
| Join | Join picked pocketed edges that meet at a panel break into one continuous pocket, across any number of panels. |
| Unjoin | Remove the pocket joins of the picked edges. |
While End marks or Hole marks is on, its button shows a dot. A right-click goes back to picking edges.
Tick mirror, beside Pocket, to mirror each finished pocket across a straight line through the piece. The alignment pen lines stay on the panel.
Pocket types are set up in Settings → Pocket Types: see Settings.