
The Detail library
A detail you use again and again, such as an air vent, a zipper end or a tensioner with its reinforcement, is drawn once and kept in the Detail library. A detail can combine pen marks, cutouts, reinforcements and cuts, and carry a list of the parts it needs.
Open the library
Section titled “Open the library”Click Library in the top row of the Fabrication column. The Detail library opens over the map; drag its title bar to move it, and click Close to close it.
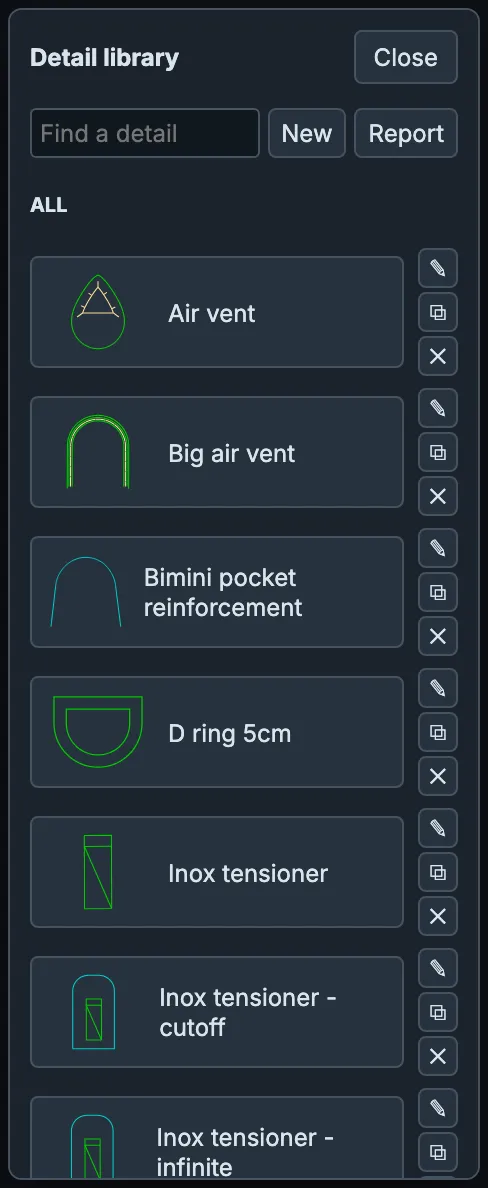
- 22 details come with Fabricator, such as Air vent, D ring 5cm, Zipper M Right and Inox tensioner. Change them or add your own.
- Type in the Find detail field, Find a detail, to filter the list.
- The details you placed last are listed under RECENT, all of them under ALL.
- Beside each detail: ✎ edits it, ⧉ makes a copy, ✕ deletes it.
Place a detail
Section titled “Place a detail”-
Click the detail in the list.
-
Click the panel where the detail goes. This is its insertion point.
-
Move the pointer to turn the detail around that point. It snaps to the nearest quarter turn when it is within 3° of one.
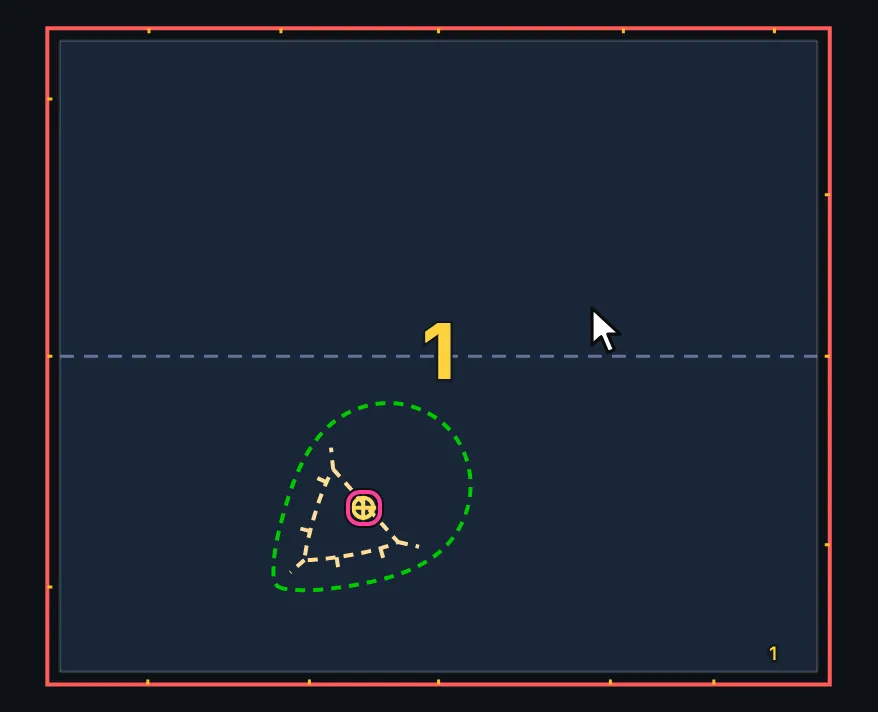
The Air vent: the ring is its insertion point, and the pointer has turned it. -
Click again to place it.
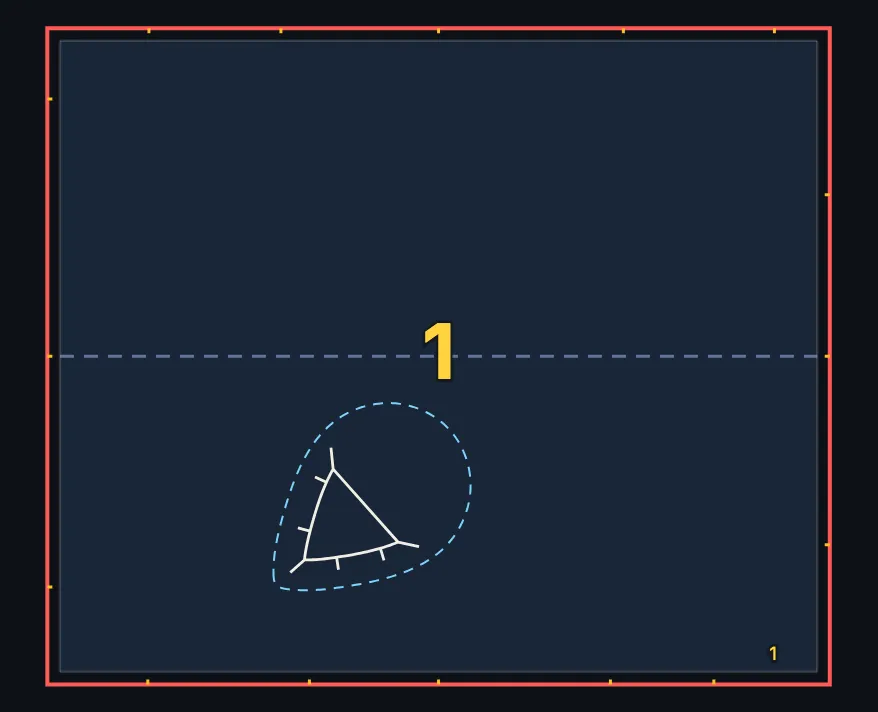
The Air vent placed on panel 1.
Everything in the detail is placed in one step, and one Undo (Ctrl+Z) removes it. With the library open, a right-click on the map starts the last detail again, so a row of the same detail is quick. Esc stops placing.
A click outside every panel places nothing; the library says Place the detail on a panel.
To remove a placed detail, click one of its lines with the library open, then press Delete.
Report
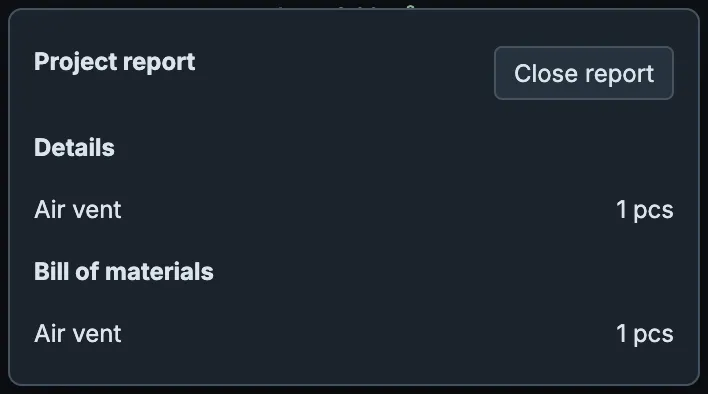
Section titled “Report”Click Report for the Project report: under Details, how many of each detail the project uses, and under Bill of materials, the parts those details need in all. Close report closes it.
Make a new detail
Section titled “Make a new detail”Click New. The Detail editor opens.

- Curve, Rectangle and Circle draw. While you draw, type a number to set a length.
- Insertion point sets the point the detail is placed by.
- Split, Trim, Offset and Mirror edit what you drew.
- The layer buttons say what a shape is, and change the selected shapes: Pen for a mark, Cutout for a hole, Reinforcement for a patch, Cut for a cut through the fabric. A Cut can be a Perforation, with its dash and gap in mm (10 and 10 to start with).
- Delete removes the selected shape. Undo and Redo, and Ctrl+Z / Ctrl+Y, work inside the editor while it is open. Esc goes back to selecting.
- Parts lists what the detail needs, such as a vent or a ring; the report adds them up.
Give the detail a name in the field at the top, and click Save detail. Cancel closes the editor without saving.
A new detail from a Rhino drawing
Section titled “A new detail from a Rhino drawing”The quickest way to make a detail is to draw it in Rhino, where you have all your drawing tools, and bring it in.
-
Draw the detail in Rhino at full size and flat: all its curves in one plane.
-
In the Atlas, click Library, then New.
-
Click Import from Rhino. If curves are selected in Rhino, they are taken. If not, the Atlas steps aside and Rhino asks you to select 2D curves for the Detail editor: select them and press Enter. Esc cancels.
-
The curves arrive as Pen lines, centred on the insertion point. Select the ones that are something else and click their layer: Cutout, Reinforcement or Cut.
-
Use Insertion point to put the point the detail is placed by where you want it. Name the detail and click Save detail.
Rhino refuses curves that are not in one plane, a selection that holds something other than curves, and more than 500 curves; the editor says why.
Import from DXF does the same from a DXF file.
The library is kept on this computer
Section titled “The library is kept on this computer”The library is saved on this computer, not with the drawing or your account.
Export saves it to a file, detail-library.json, to back it up or to give
it to a colleague. Import adds the details of such a file to your library.