
Reinforcements, cutouts and detail marks
Three tools in the Fabrication column draw on a panel. They draw the same way; what they make differs.
| Tool | Key | What it makes |
|---|---|---|
| Reinf | R | A custom reinforcement: a patch of any shape on the panel, cut as a piece of its own in the Custom reinf material. |
| Cutout | C | A closed shape inside a panel becomes a hole. An open path drawn across the panel’s edge becomes a notch in the outline. |
| Detail | D | A reference mark on the panel, such as a strap position or a logo outline. It is drawn, not cut. |
Rest the pointer on the Fabrication column to find them in its drop-down, or press the key.
Choose Draw or Circle
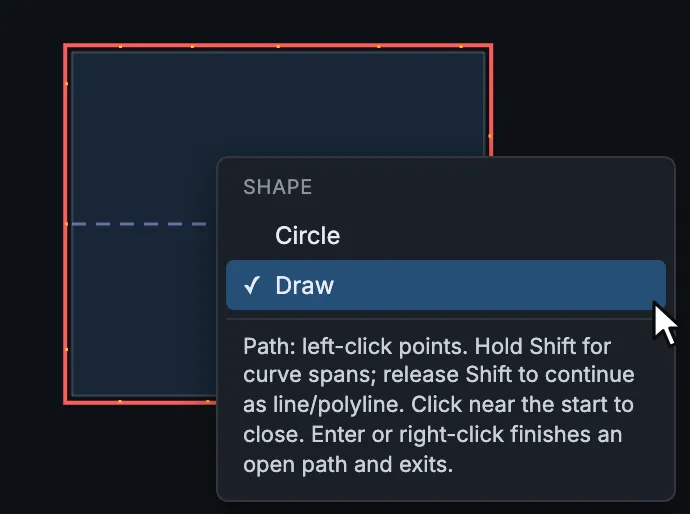
Section titled “Choose Draw or Circle”With one of the three tools on, hold Ctrl over the map. The Shape menu opens where the pointer is. Click Draw or Circle while you still hold Ctrl; letting go of Ctrl closes the menu and the tool stays on. Rest the pointer on a choice to read how it draws.
Draw a shape
Section titled “Draw a shape”-
Click Reinf, Cutout or Detail, and choose Draw in the Shape menu.
-
Click the points of the shape on the panel. Hold Shift while you click for a curved stretch; let go of it to carry on with straight lines.
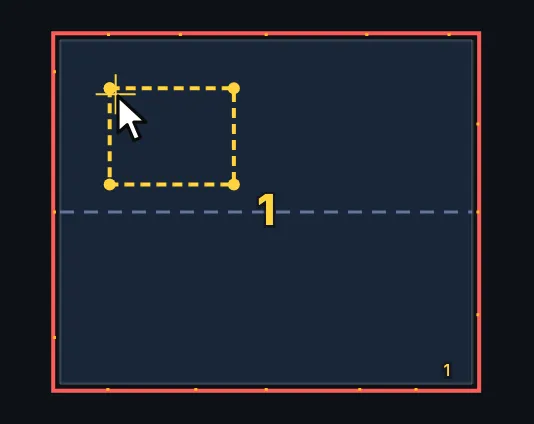
A reinforcement half drawn: three sides, and the pointer back at the first point. -
Click near the first point to close the shape. The tool stays on, for the next shape. For an open line, press Enter or right-click instead: that finishes the line and puts the tool down.
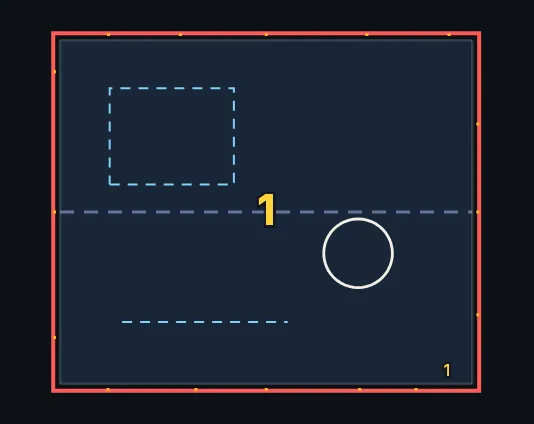
A reinforcement shows on its panel, and its piece is laid out beside the panel, ready to be cut.
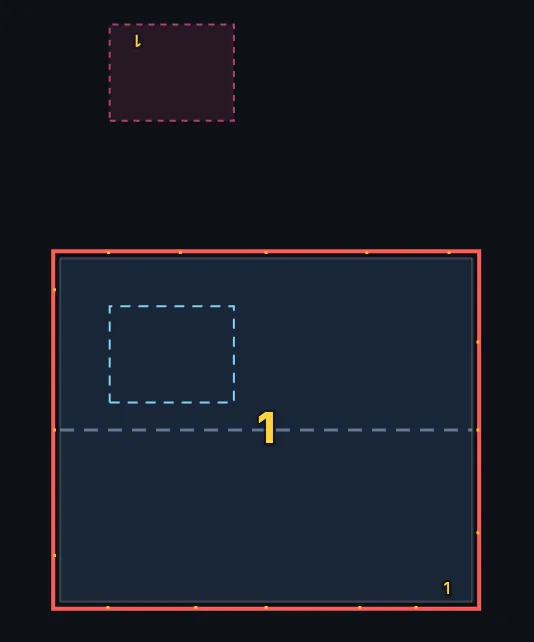
The finished reinforcement on panel 1, and its piece above the panel.
Draw a circle
Section titled “Draw a circle”-
Click Reinf, Cutout or Detail, and choose Circle in the Shape menu.
-
Click the centre of the circle.
-
Type the radius in millimetres. A box beside the circle shows what you type; Backspace corrects it. You can also click a point on the circle instead of typing.
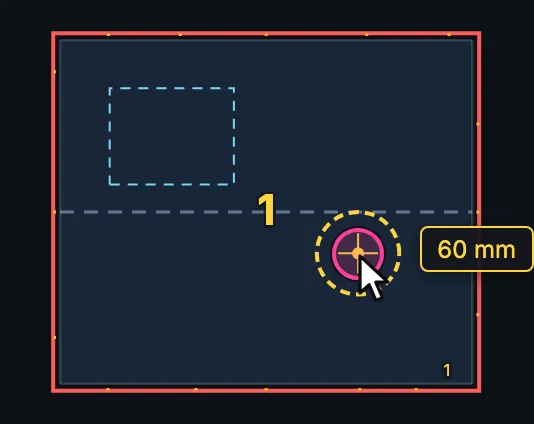
A cutout circle: the centre is placed and 60 is typed. -
Press Enter, right-click or click to confirm. The tool is put down. With no radius typed, Enter or a right-click repeats the last radius, which is handy for a row of equal holes.
Esc while you draw throws the half-drawn shape away.
Remove one
Section titled “Remove one”Select it, then press Delete:
- a reinforcement, a detail or another drawn line: click the line with no tool on;
- a cutout: click inside it with Cutout on.
One Undo (Ctrl+Z) brings it back.
Reinforcement ends
Section titled “Reinforcement ends”A seam type with a reinforcement puts a reinforcement strip along its seam. Where the strip ends at a corner, it can stop square or run on.
-
Click Reinf corners in the Fabrication drop-down. A dot shows at each end of a reinforcement strip.
-
Click a dot to switch that end between Neighbor (blue), which runs on to the next edge, and Perpendicular (orange), a square end.
-
Click Reinf corners again to put the tool down. While it is off, clicks on the dots do nothing.
The materials the reinforcements are cut from are set in the Materials column: see Set the material. How far a strip sits from its panel, and whether there is a second strip, are set in the Output column: see Output and nest.